Inventory Management in SalesRender
Inventory management in SalesRender consists of several key components: warehouse, product, and product movement within the warehouse.
Let's break down each of these concepts and discuss some interesting nuances.
How to Add a Warehouse and Why It's Necessary
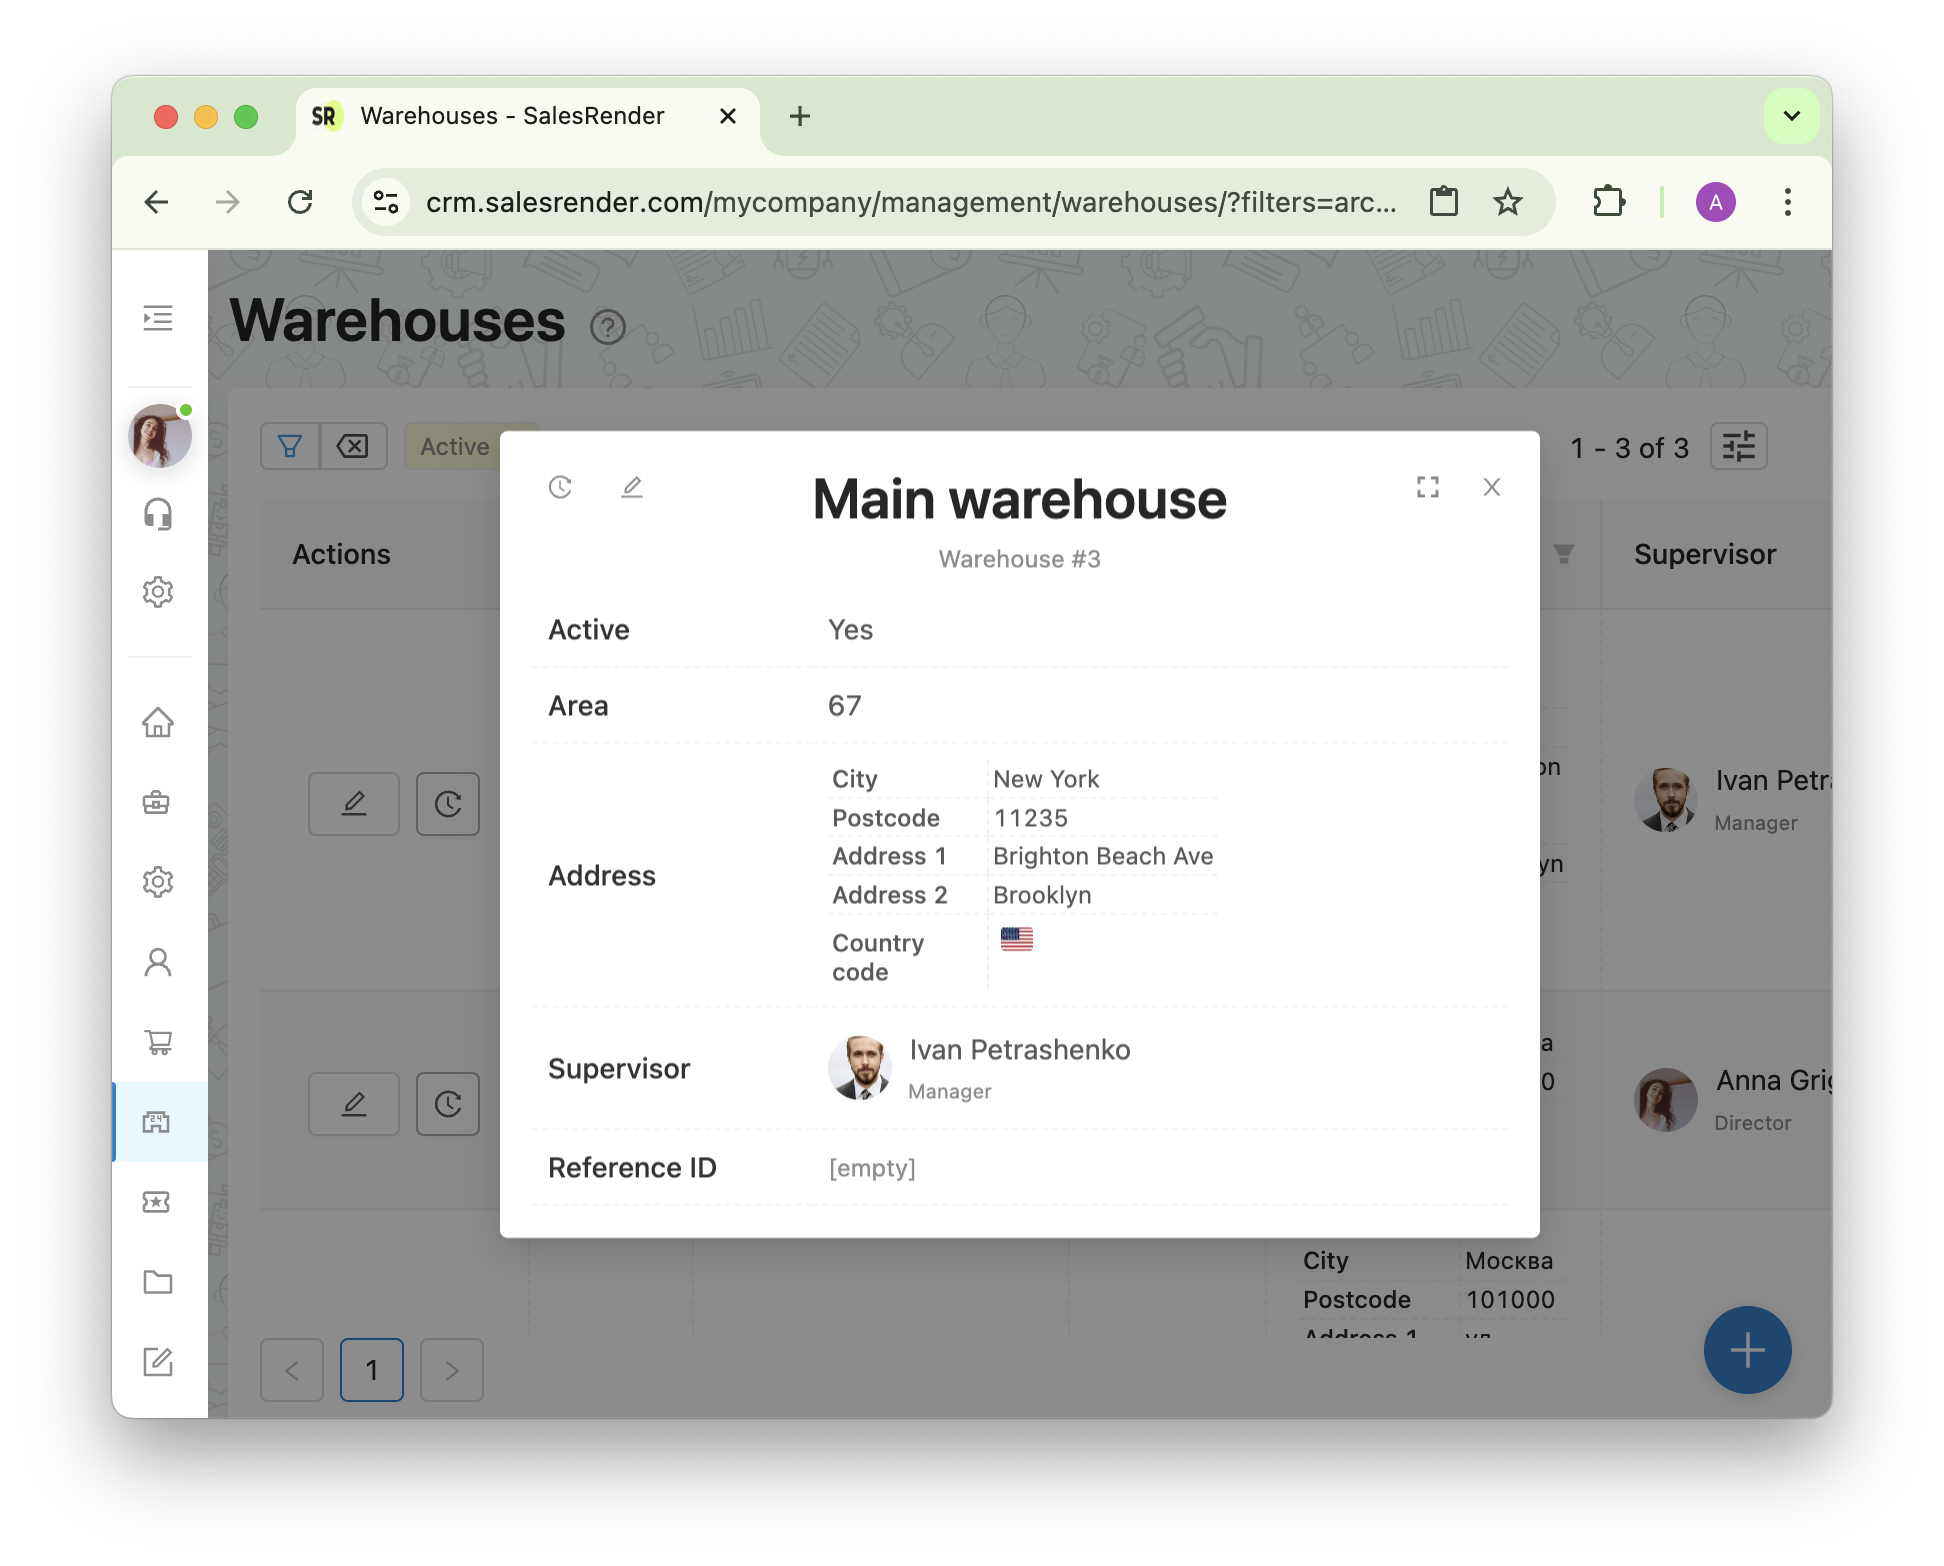
When adding a warehouse in the CRM, you need to specify the address, area, and supervisor. The warehouse is created without products. Essentially, this is just a record of the storage location for all your products.
Some entrepreneurs pay close attention to warehouses, for example, in attempts to optimize logistics costs, they create warehouses in different locations and always check the availability of products in specific warehouses. This affects both the cost and timing of logistics. Thus, they create different warehouses in different cities of the country or in different parts of a large city.
For others, the warehouse is always the same and generally doesn't carry such significant importance. In this case, the warehouse is usually created as "Main" and not given much attention.
How to "Fill" the Warehouse with Products and Start Product Movement
First, you need to create a product list in a separate menu item. Products are entered separately from the warehouse. Essentially, you create a list of your warehouses, then create a list of your products, and only then fill the warehouse with products. The moment when the warehouse is filled with products pertains to the basics of inventory management.
We will discuss products in a separate article. For now, let's just assume they have already been created. So how do you add them to the warehouse?
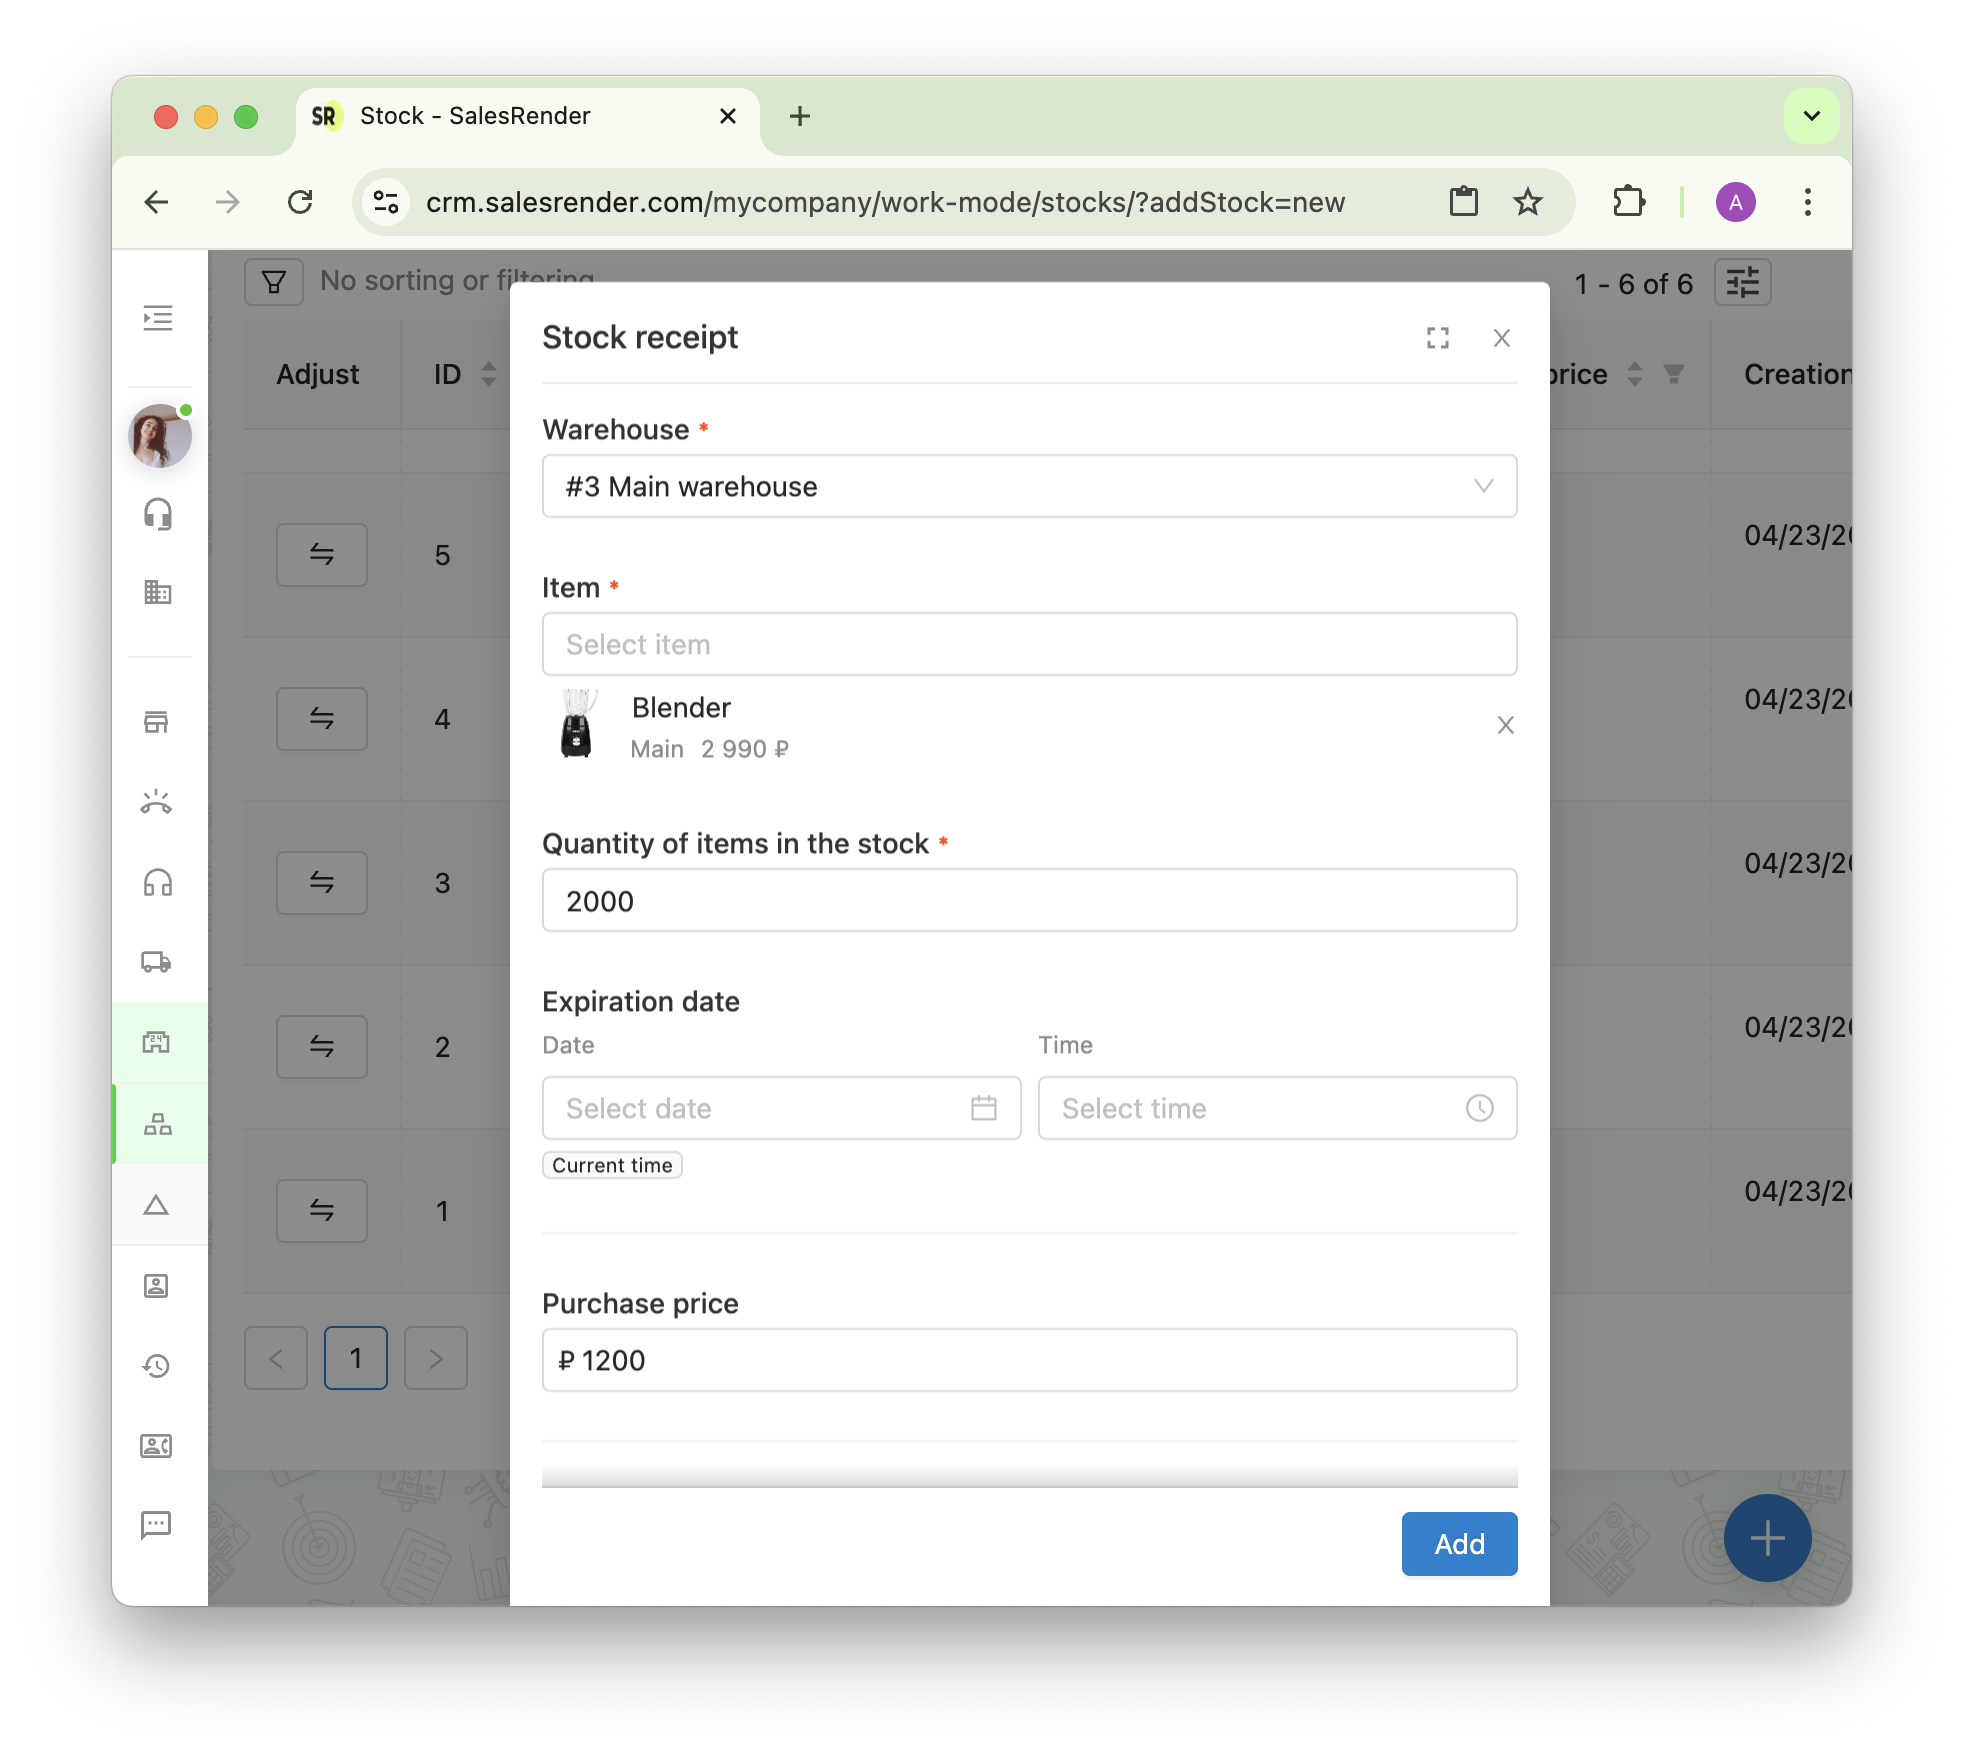
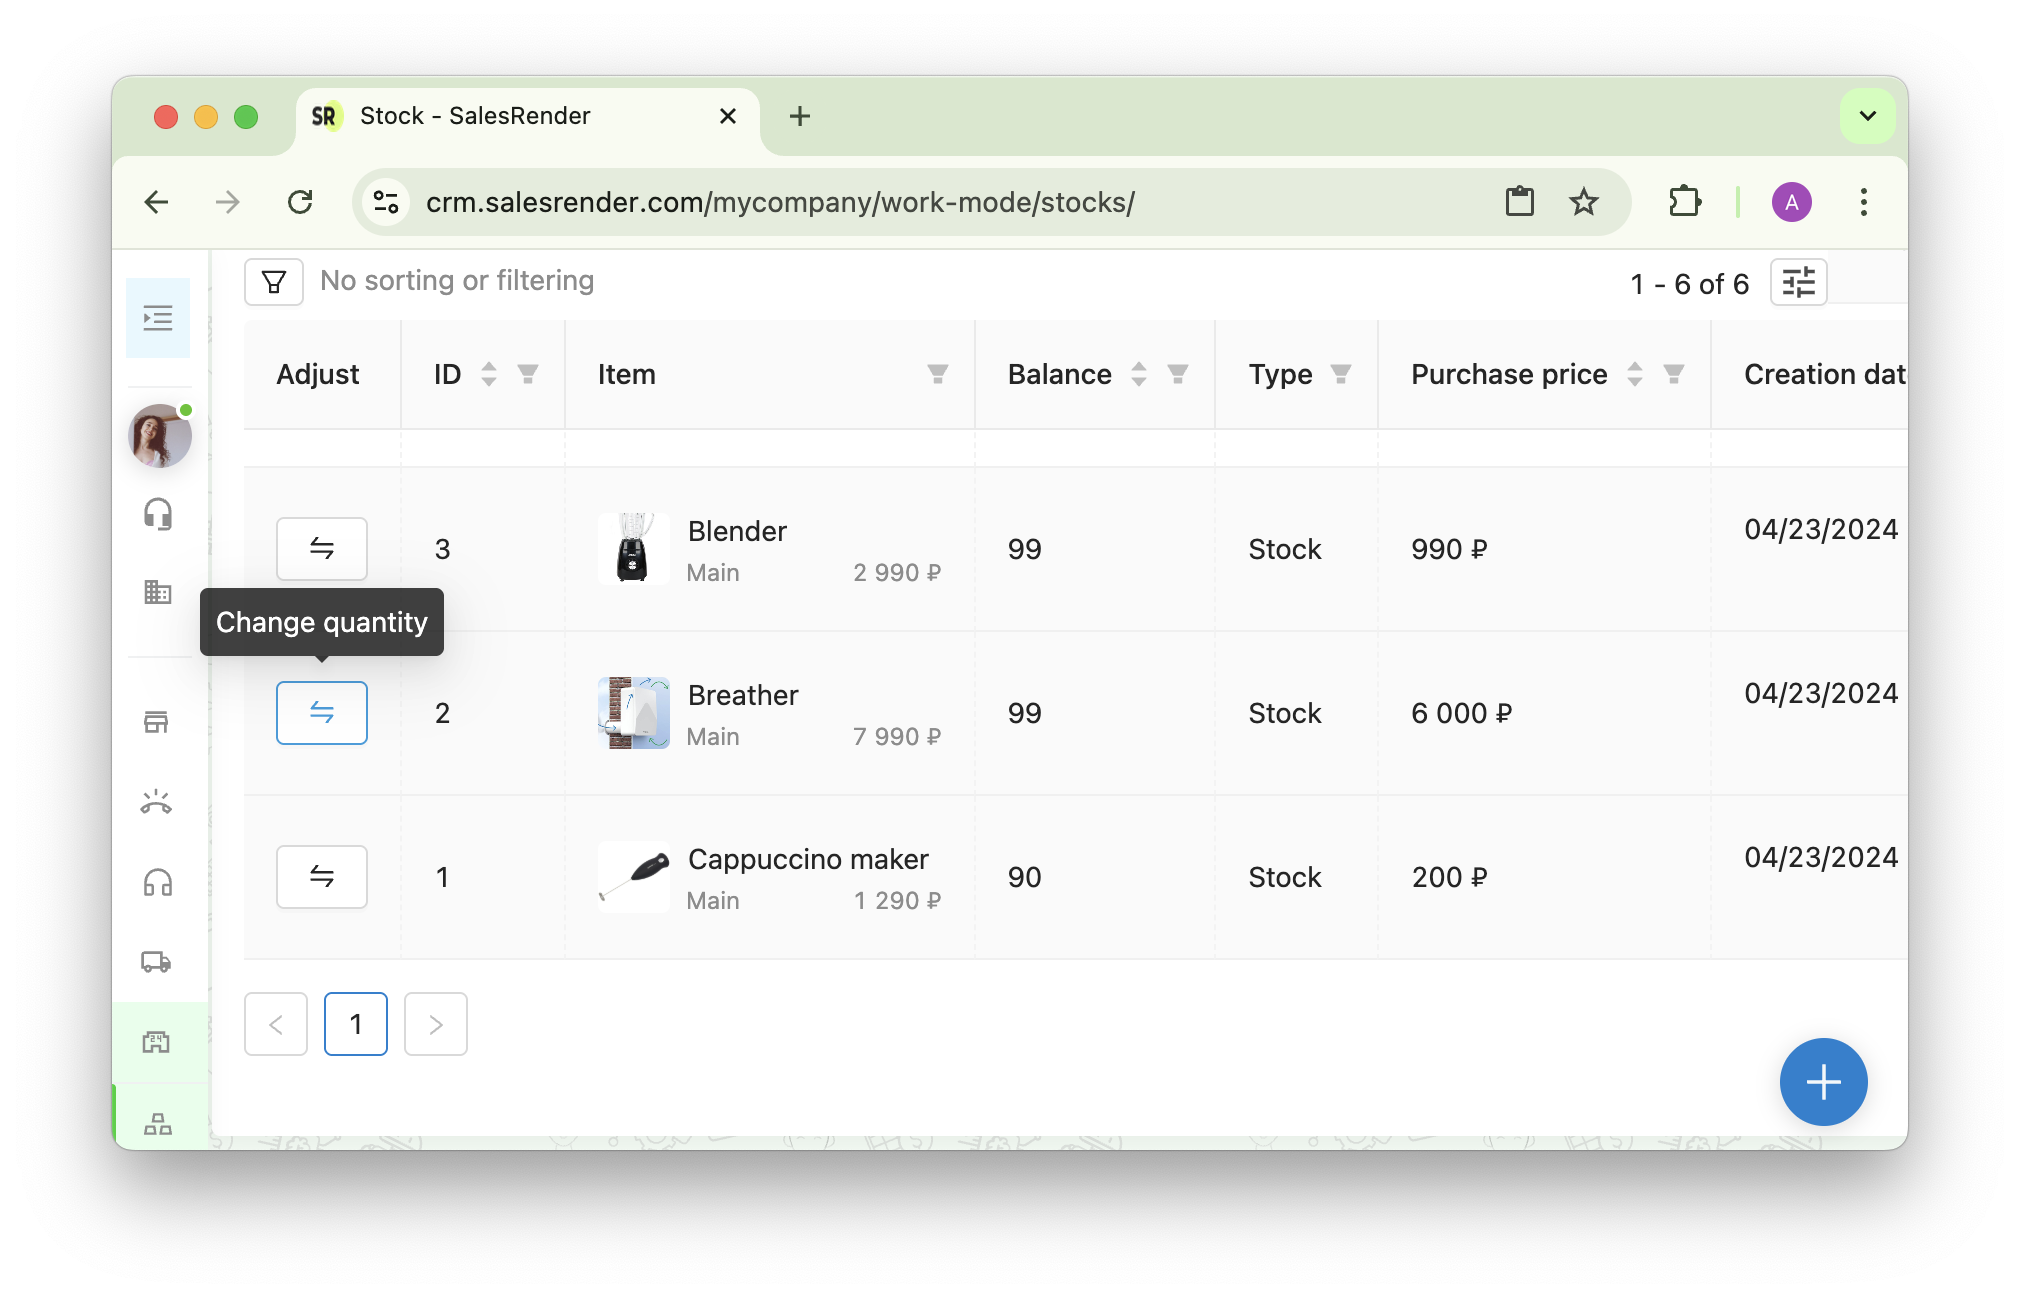
You need to go to the "Inventory Management" menu item, select a specific warehouse, and enter the product batches.
If you are just starting with inventory management, it makes sense to enter all the current stock on the warehouse as incoming batches. In the future, incoming batches will be recorded as each new shipment of goods arrives.
Interesting Features:
- We have expiration date tracking. You enter the expiration date, and then during dispatches, warehouse workers must pack the soonest-to-expire products first. The system will automatically deduct the product closest to its expiration date from the warehouse (though this can be configured otherwise). This makes inventory management ideal and crisis-proof.
- Purchase price is entered to account for the warehouse's currency balance. If you enter everything correctly, you'll always have information on how much money is invested in the warehouse's products at your fingertips.
- A comment field for each batch is available. This is an optional field, but we recommend using it for your convenience in warehouse management (for example, noting the supplier or details about customs, purchase, etc.).
Inventory Management History
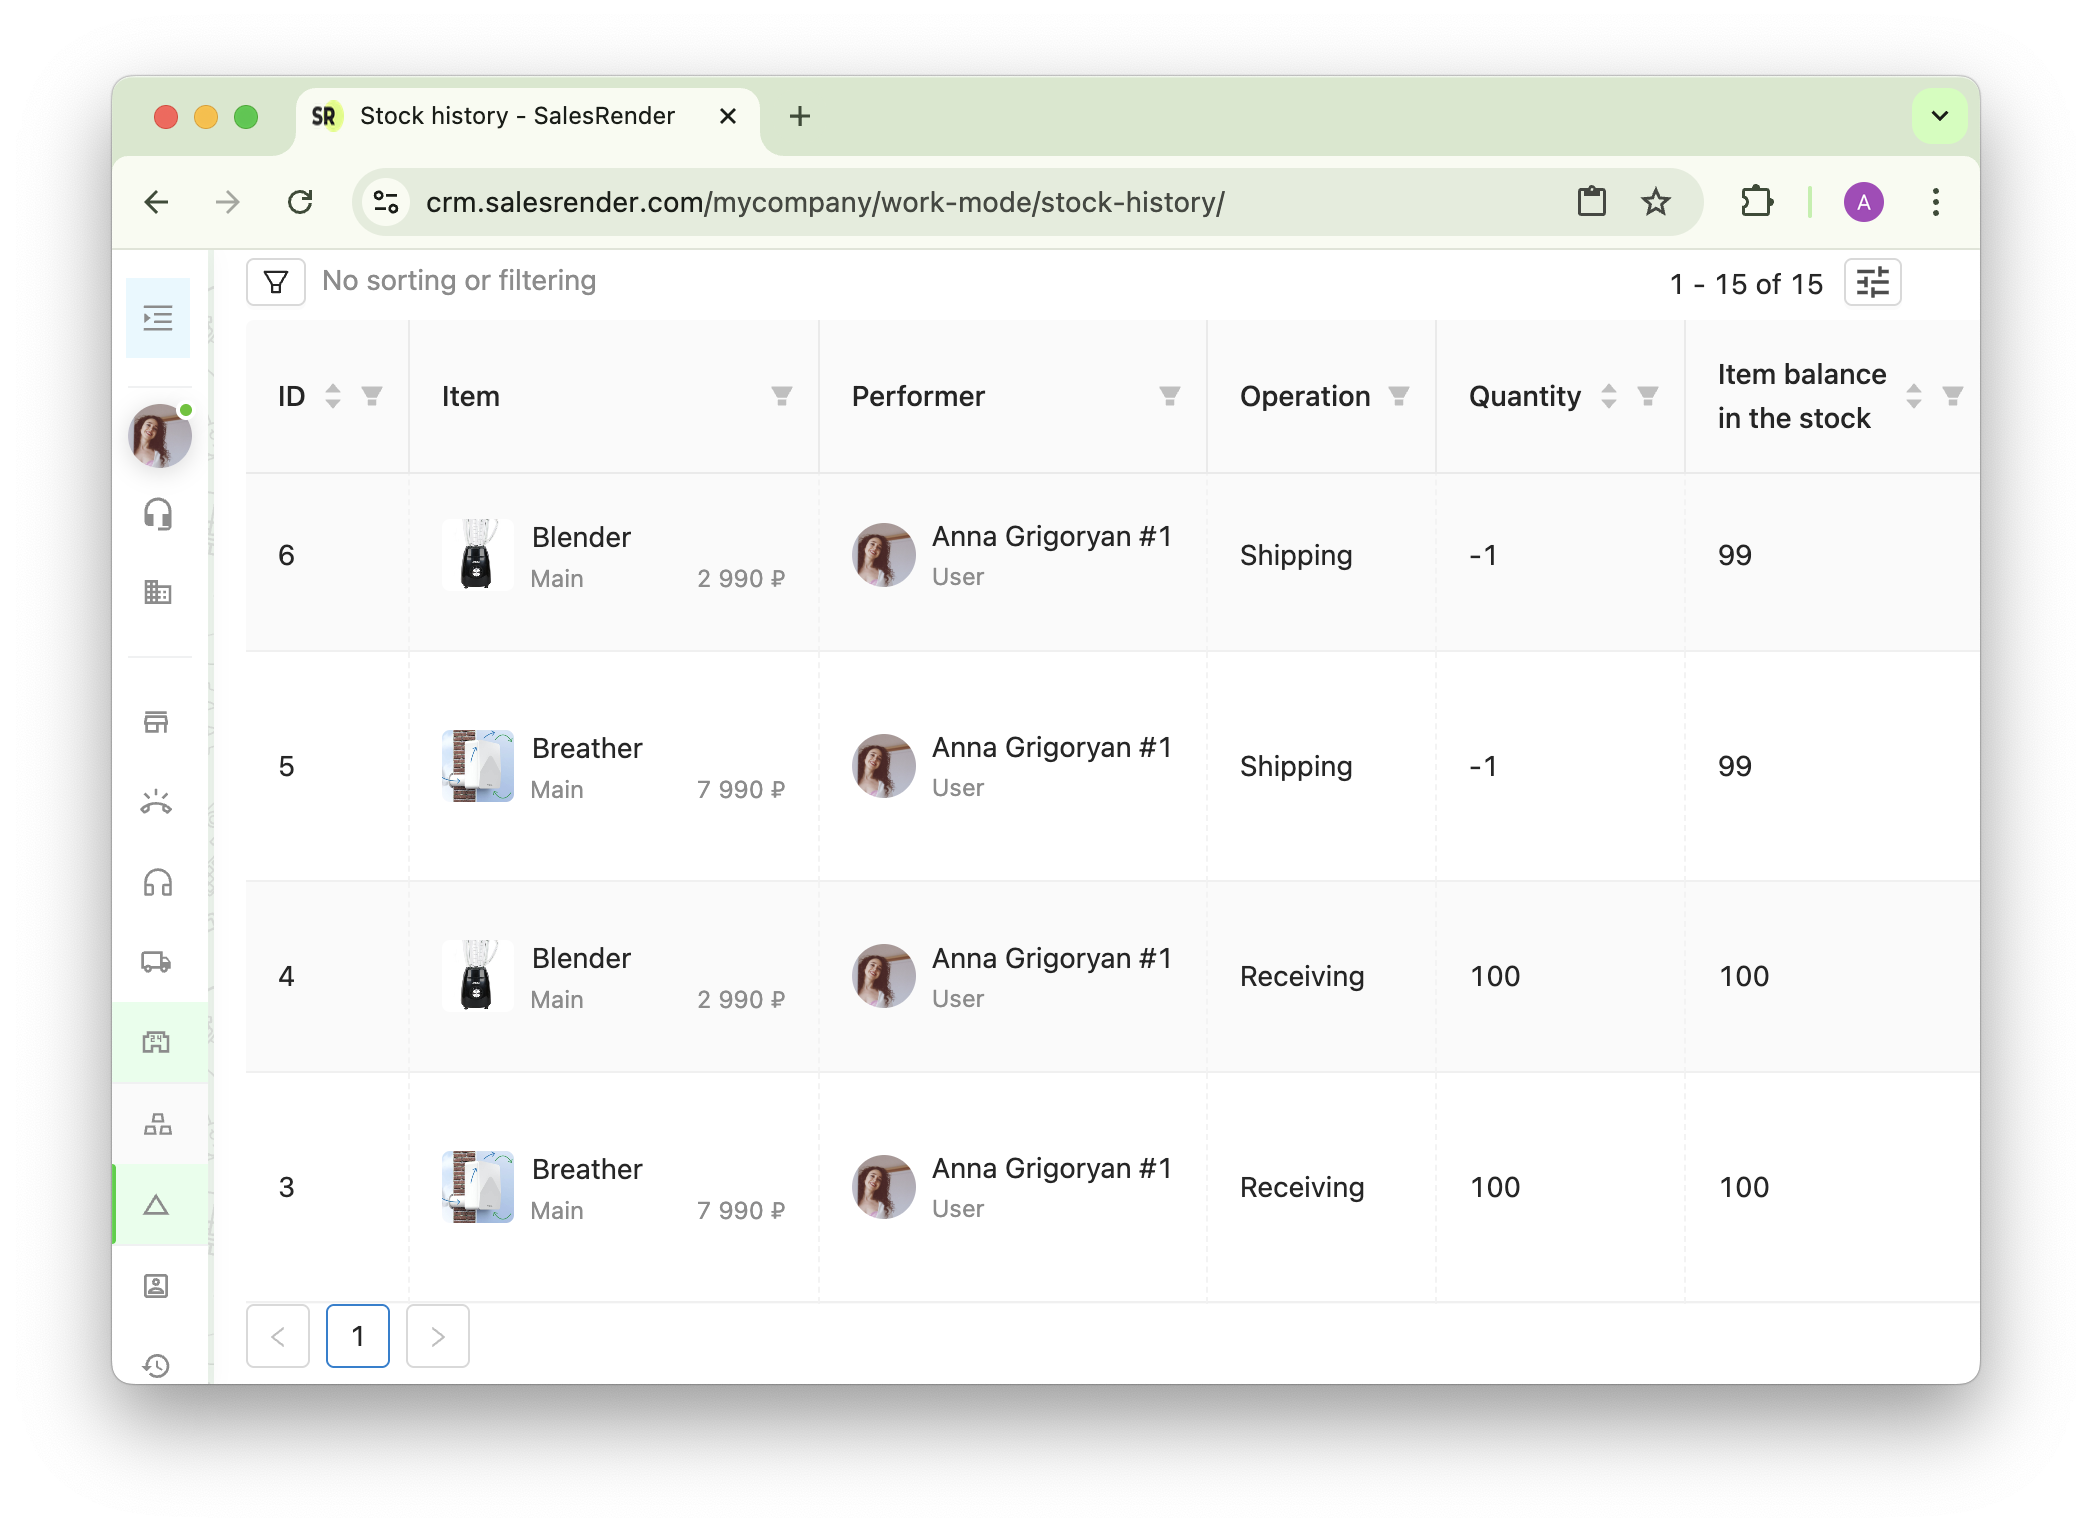
Once products are added to the warehouse, you can access the history of changes in product inventory.
Interesting Features:
- Who made the changes. This tracks not only users but also roles, plugins, triggers, etc. For example, a product could be added not by a user but via an API.
- Operation type. There are four possible types of operations with product batches: receiving goods, inventory adjustment, delivery of goods, and cancellation. Receiving goods is the actual arrival of a batch at the warehouse. Adjustment usually occurs during inventory checks when the actual stock slightly differs from the expected stock, allowing you to correct the inventory. Delivery of goods is when products are reserved for delivery to customers. Cancellation happens if the product reservation was canceled (e.g., the delivery to customers wasn't made).
- Stock levels help you quickly make decisions about ordering new batches.
How to Ensure Enough Stock When Processing Orders
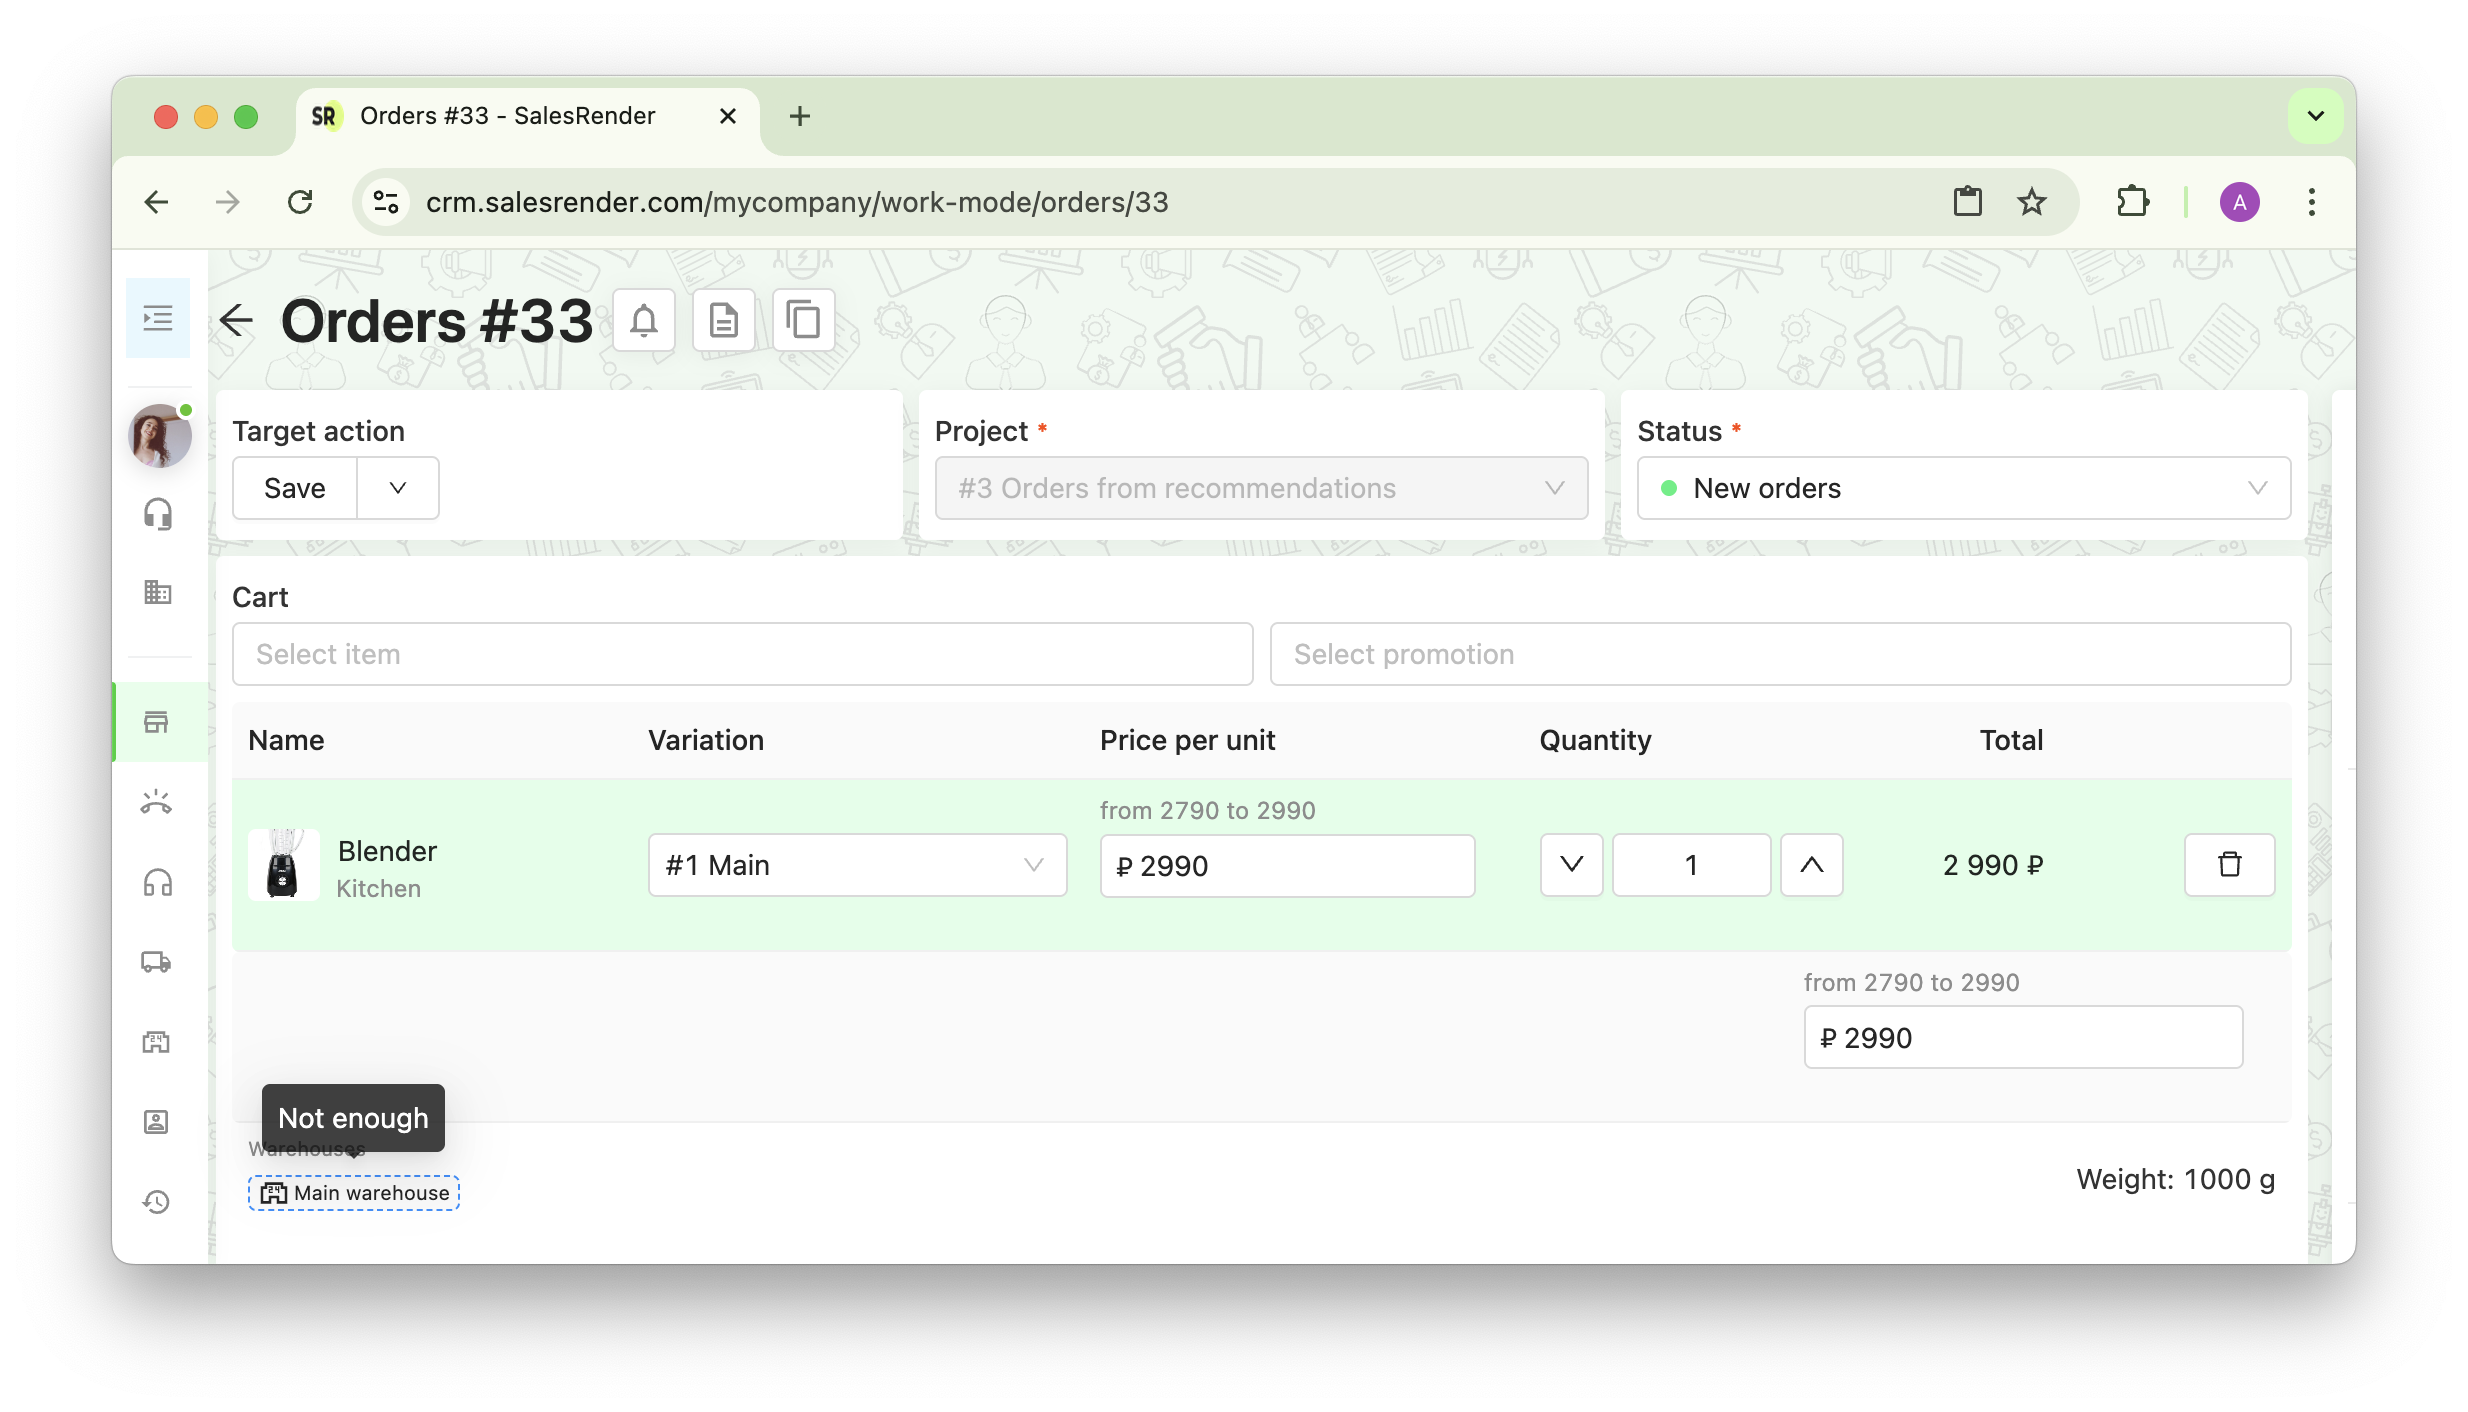
In the order card, there's a block with a cart where sales managers add the products needed by the client, offer promotions, and adjust quantities and prices.
Additionally, under the list of selected products and promotions, warehouses are displayed. They may be highlighted in different colors. This is to help the sales manager understand if there is enough stock for the sale, or when preparing an invoice, to choose which warehouse will handle the shipment.
The warehouses at the bottom of the cart can be in the following colors:
- Green - sufficient stock for all items in this warehouse
- Orange - lacking 1 item for all positions in this warehouse
- Red - insufficient stock for at least one item in this warehouse
You can click on several warehouses at once to see which products are lacking or have insufficient stock.
As seen in the video screenshot, warehouses highlighted in red turned green next to specific products. This means that all items in the cart cannot be shipped from one warehouse due to insufficient stock, but specific items can be. This helps you and your employees understand from which warehouses shipments should be made.
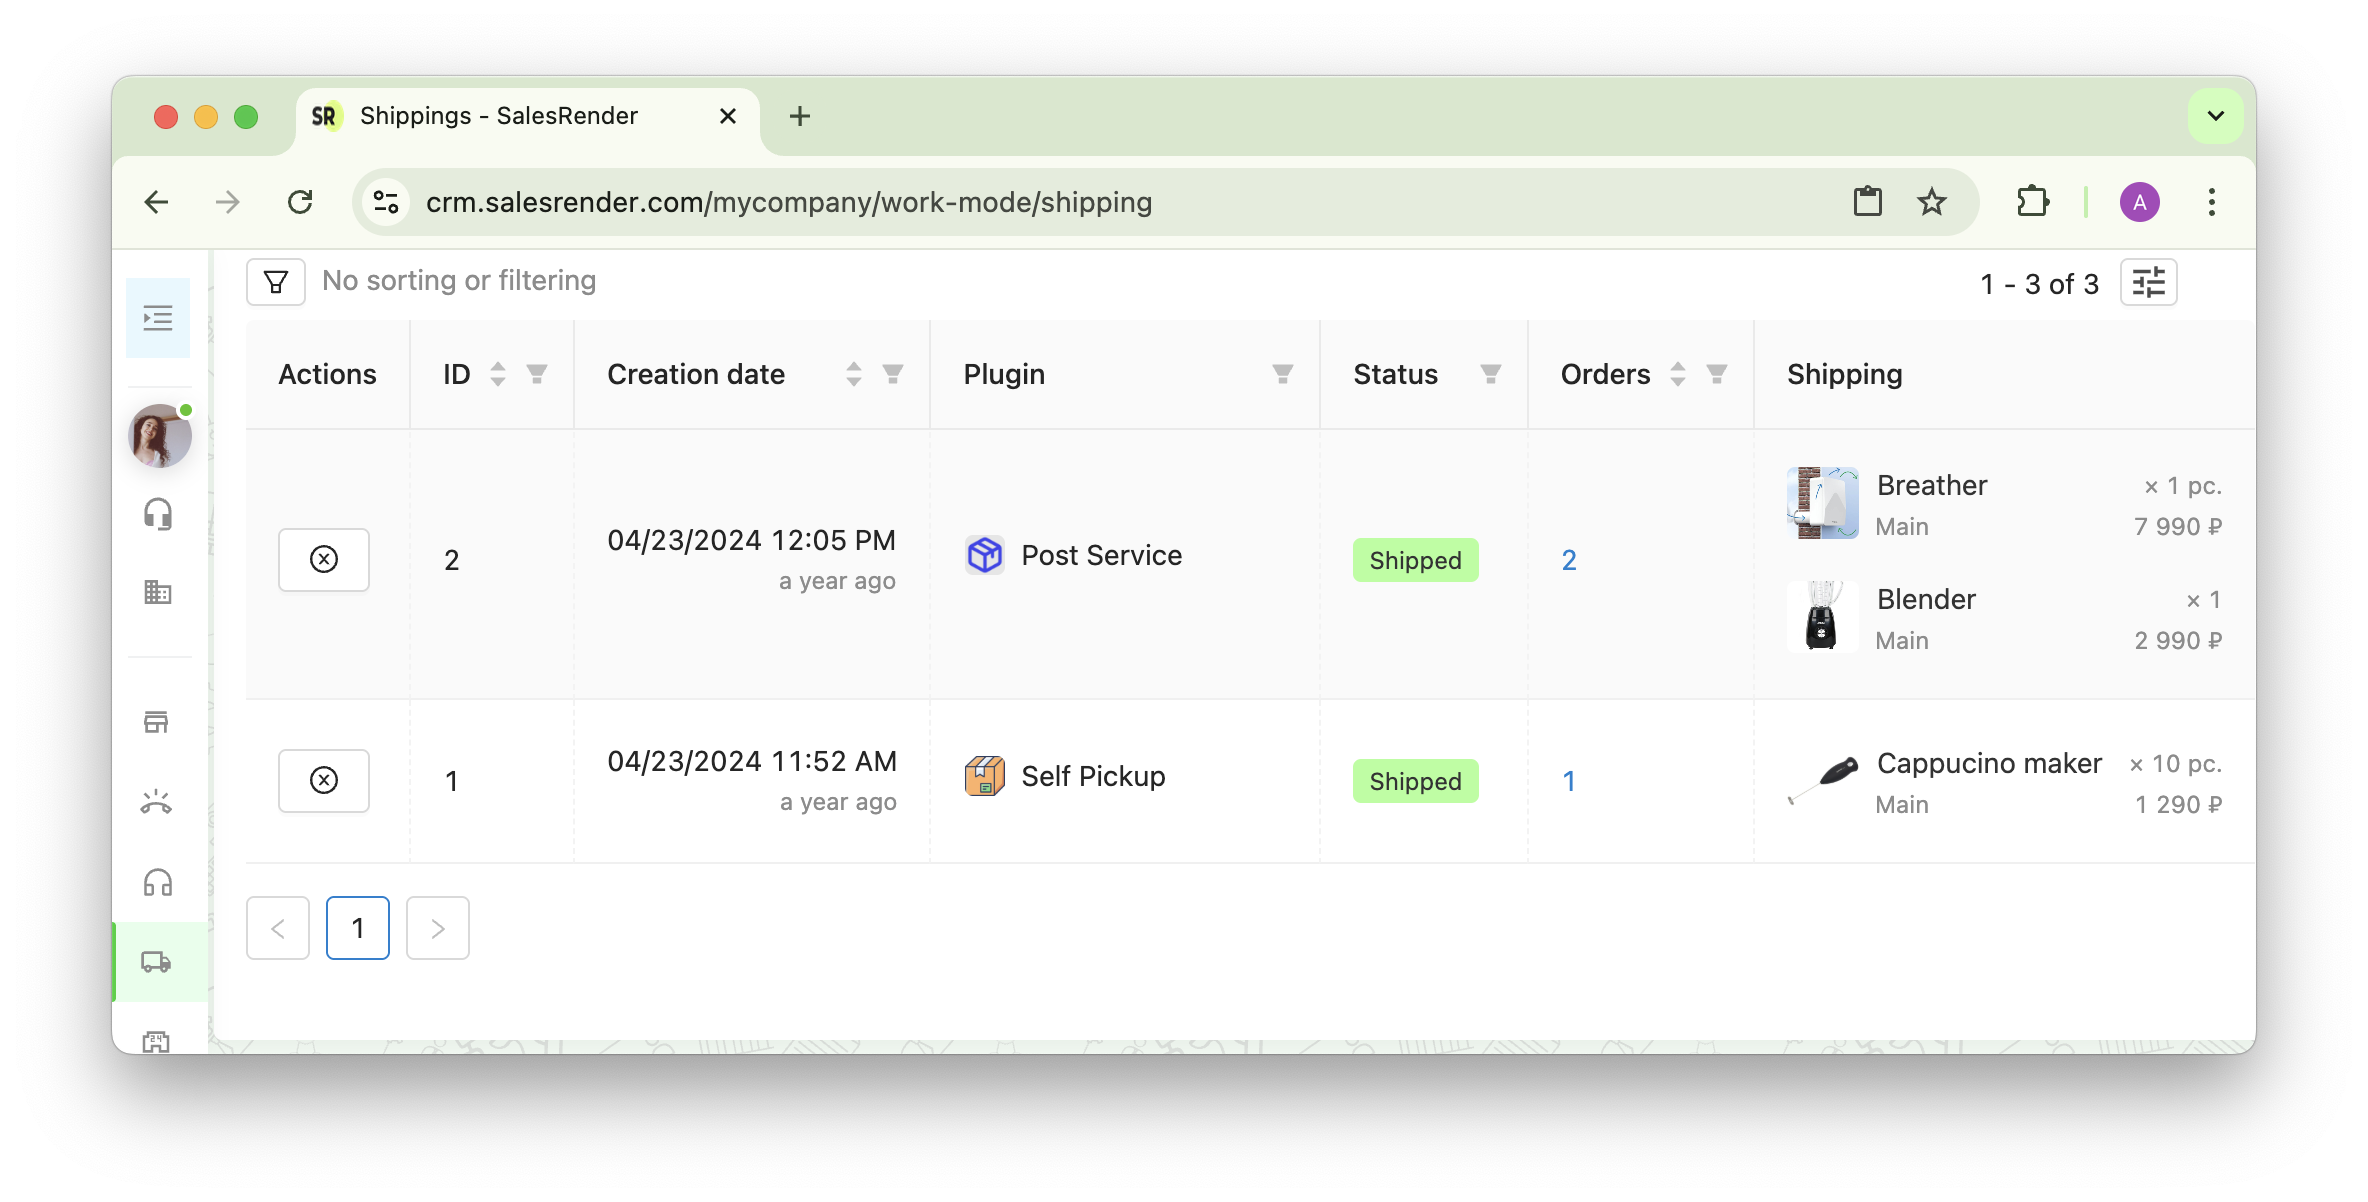
How Products are Deducted After Shipments to Courier Services
After forming a shipment to a courier service, our CRM system allows you to specify from which batch the products need to be deducted for the shipment. This is an excellent way to control expiration dates and sell the "closest-to-expiration" products first since typically older items are sold first and fresher ones are displayed later.
You can deduct any quantity of products from each batch to achieve the required total quantity. Here's an example setup where we take part of the quantity from an older batch and the rest from a newer one.
When selecting batches for deduction, there's an option for Shortage. This is the deduction of inventory in the negative when, in fact, there are products in stock that can be shipped, but the inventory shows less. This often occurs and is adjusted according to actual stock levels. The Shortage option can be used when there aren't suitable batches available or when there are no batches listed at all.
We also have an Autocomplete button, which automatically sets the quantity of products and selects batches. Autocomplete works by deducting the remaining stock from the oldest batches of products.
In Autocomplete, you can specify how many days remain until the expiration date. This is to exclude batches from Autocomplete that don't meet the expiration date criteria. For example, if you know that the product will be delivered within 30 days, and its expiration date is in 20 days, there's no point in sending such a product, so it needs to be excluded.
Our support team will help you add warehouses and products, configure inventory management, and provide a demonstration of our CRM features!
You can explore even more features on our website salesrender.com.
Follow our channel on Telegram.
Contact our CEO Anna on Telegram.