Integration with Keitaro Tracker
Since Keitaro is a tracker, the integration between SalesRender and Keitaro comes down to setting up a webhook that will notify Keitaro about lead status changes.
Step 1: Configure lead transfer in the CRM
In SalesRender, there is a concept of an “order” and a “lead”. They serve different purposes.
An order is a record in the CRM of what a customer ordered from you.
However, an order may also contain information about whether it was created by an affiliate, for which offer, at what payout, and other additional details. All this affiliate/offer/payout data is the “lead” information inside the order.
A lead is transferred when working with a CPA system. If you work with partners who provide you traffic, they pass along lead information inside each order.
In the CRM admin panel, there is a “Lead” column. It either contains information or not.
Therefore, the first step to make the Keitaro webhook work is to ensure that lead information is received.
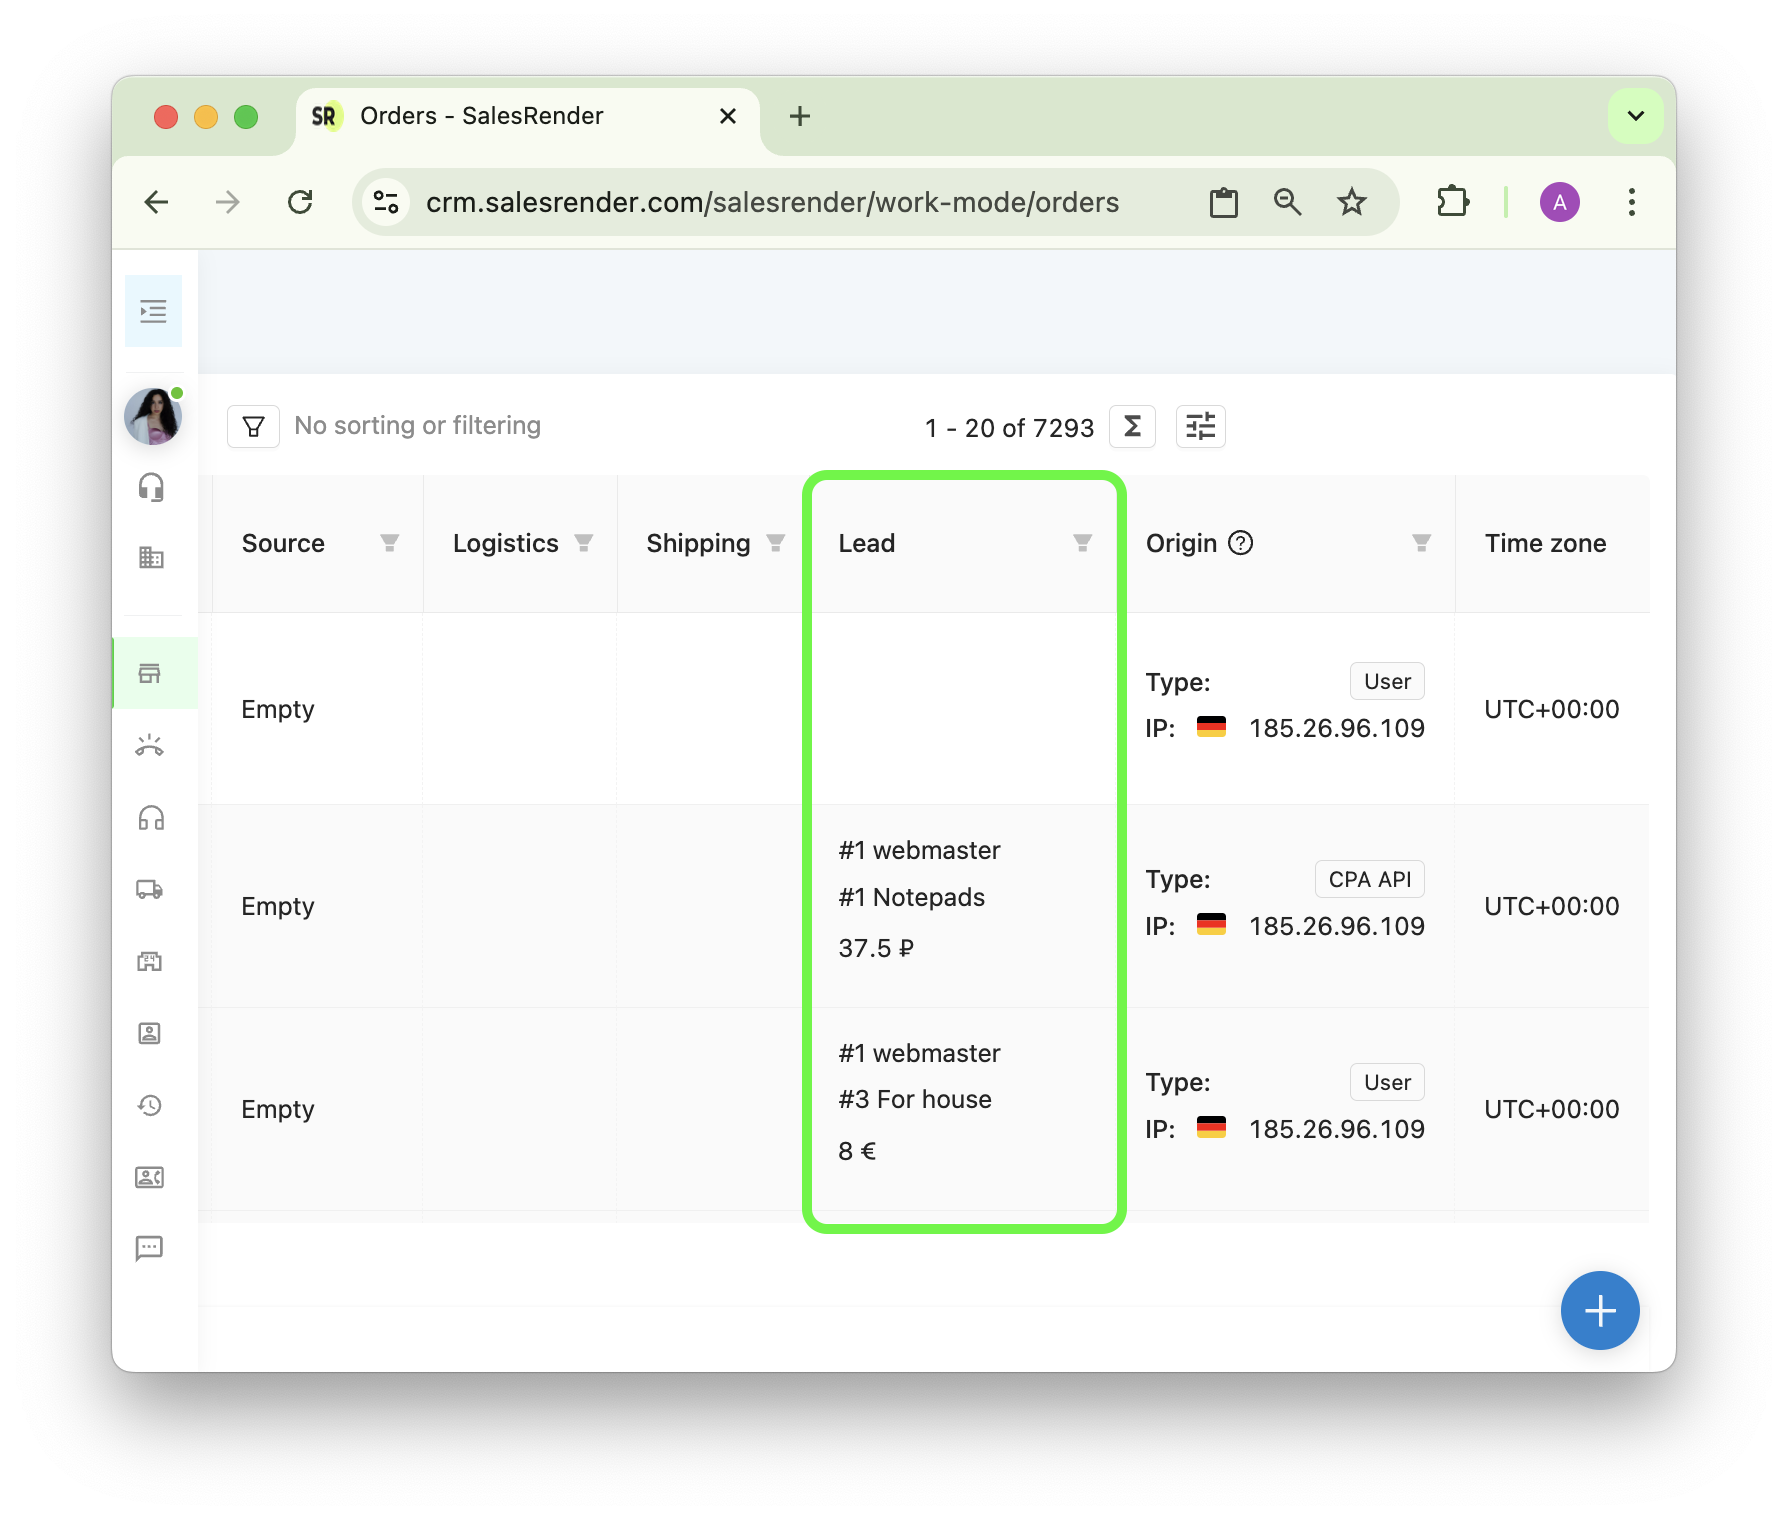
To transfer a lead, you don’t need to change the API. Any API you already use (CPA API, CRM API, compatible API) will work.
CPA API and compatible API automatically create a lead, and with CRM API you can simply add lead data in the request for order creation: webmasterId and offerId.
Then all orders will contain lead information.
Which exact values to send in webmasterId and offerId will be explained in the next step.
Step 2: Set up webmasterId and offerId
The Keitaro webhook will only trigger on leads that come from Keitaro. So you need to separate these leads from others.
First, register a “webmaster” from which all leads from Keitaro will arrive.
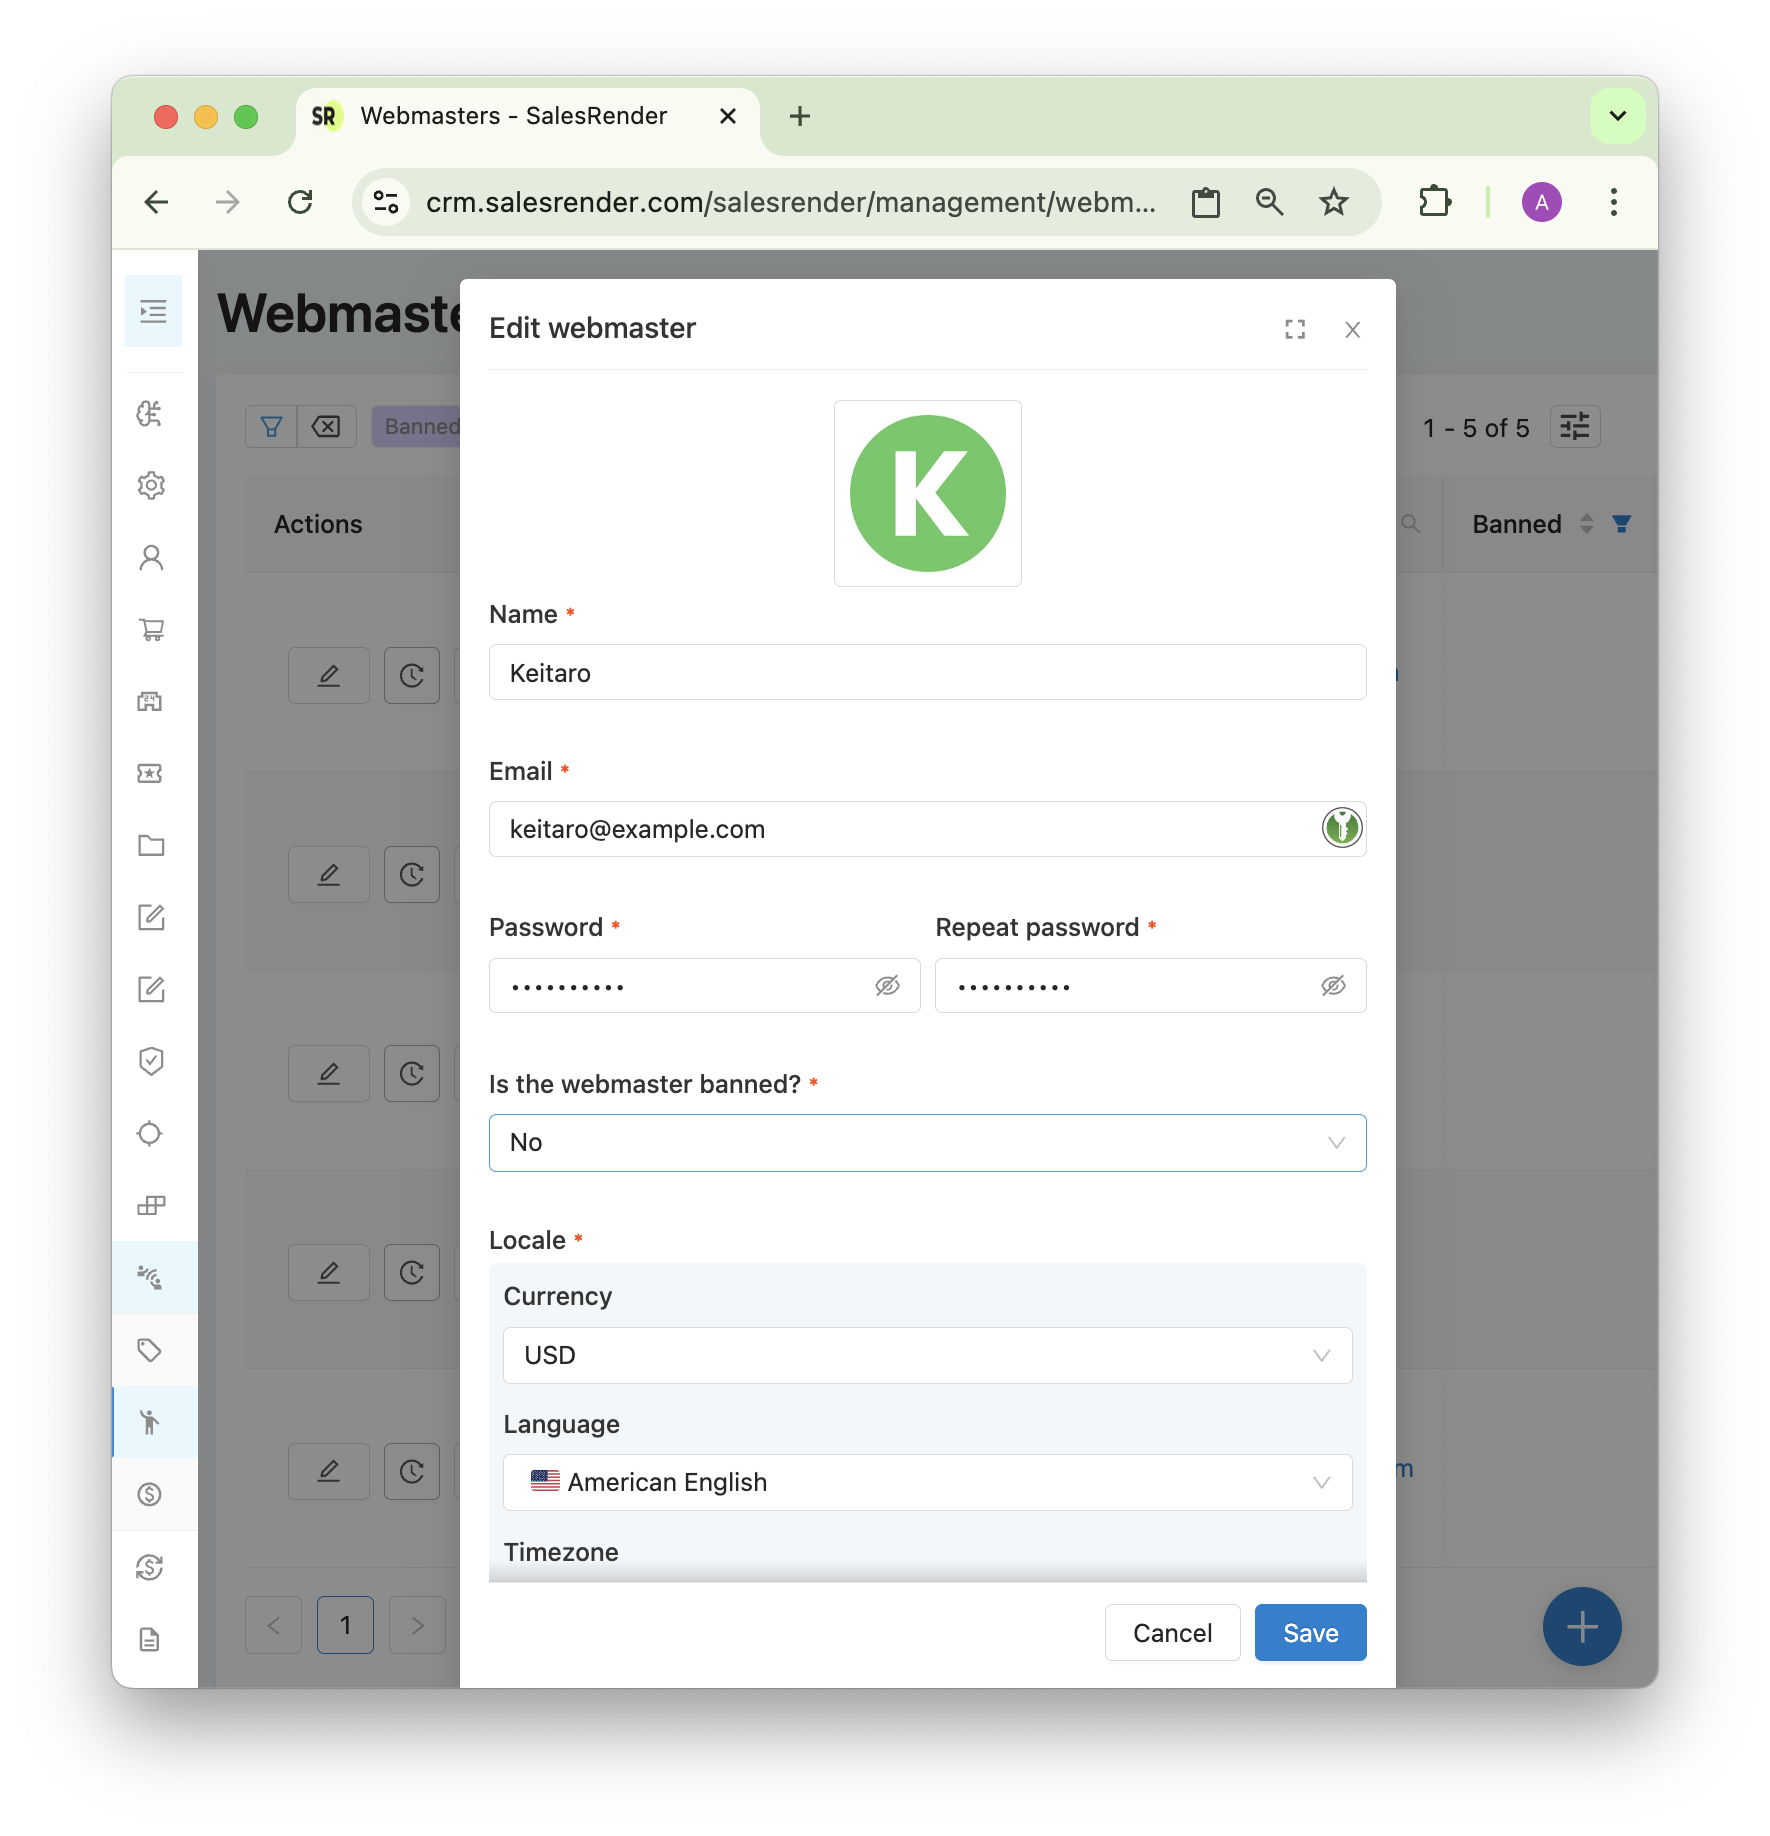
Set an email and password, and save them — you’ll need them later.
After registering, you’ll see the webmaster ID. This is the webmasterId you need to pass in the order creation request.
Now create an offer in the same CPA → Offers module.
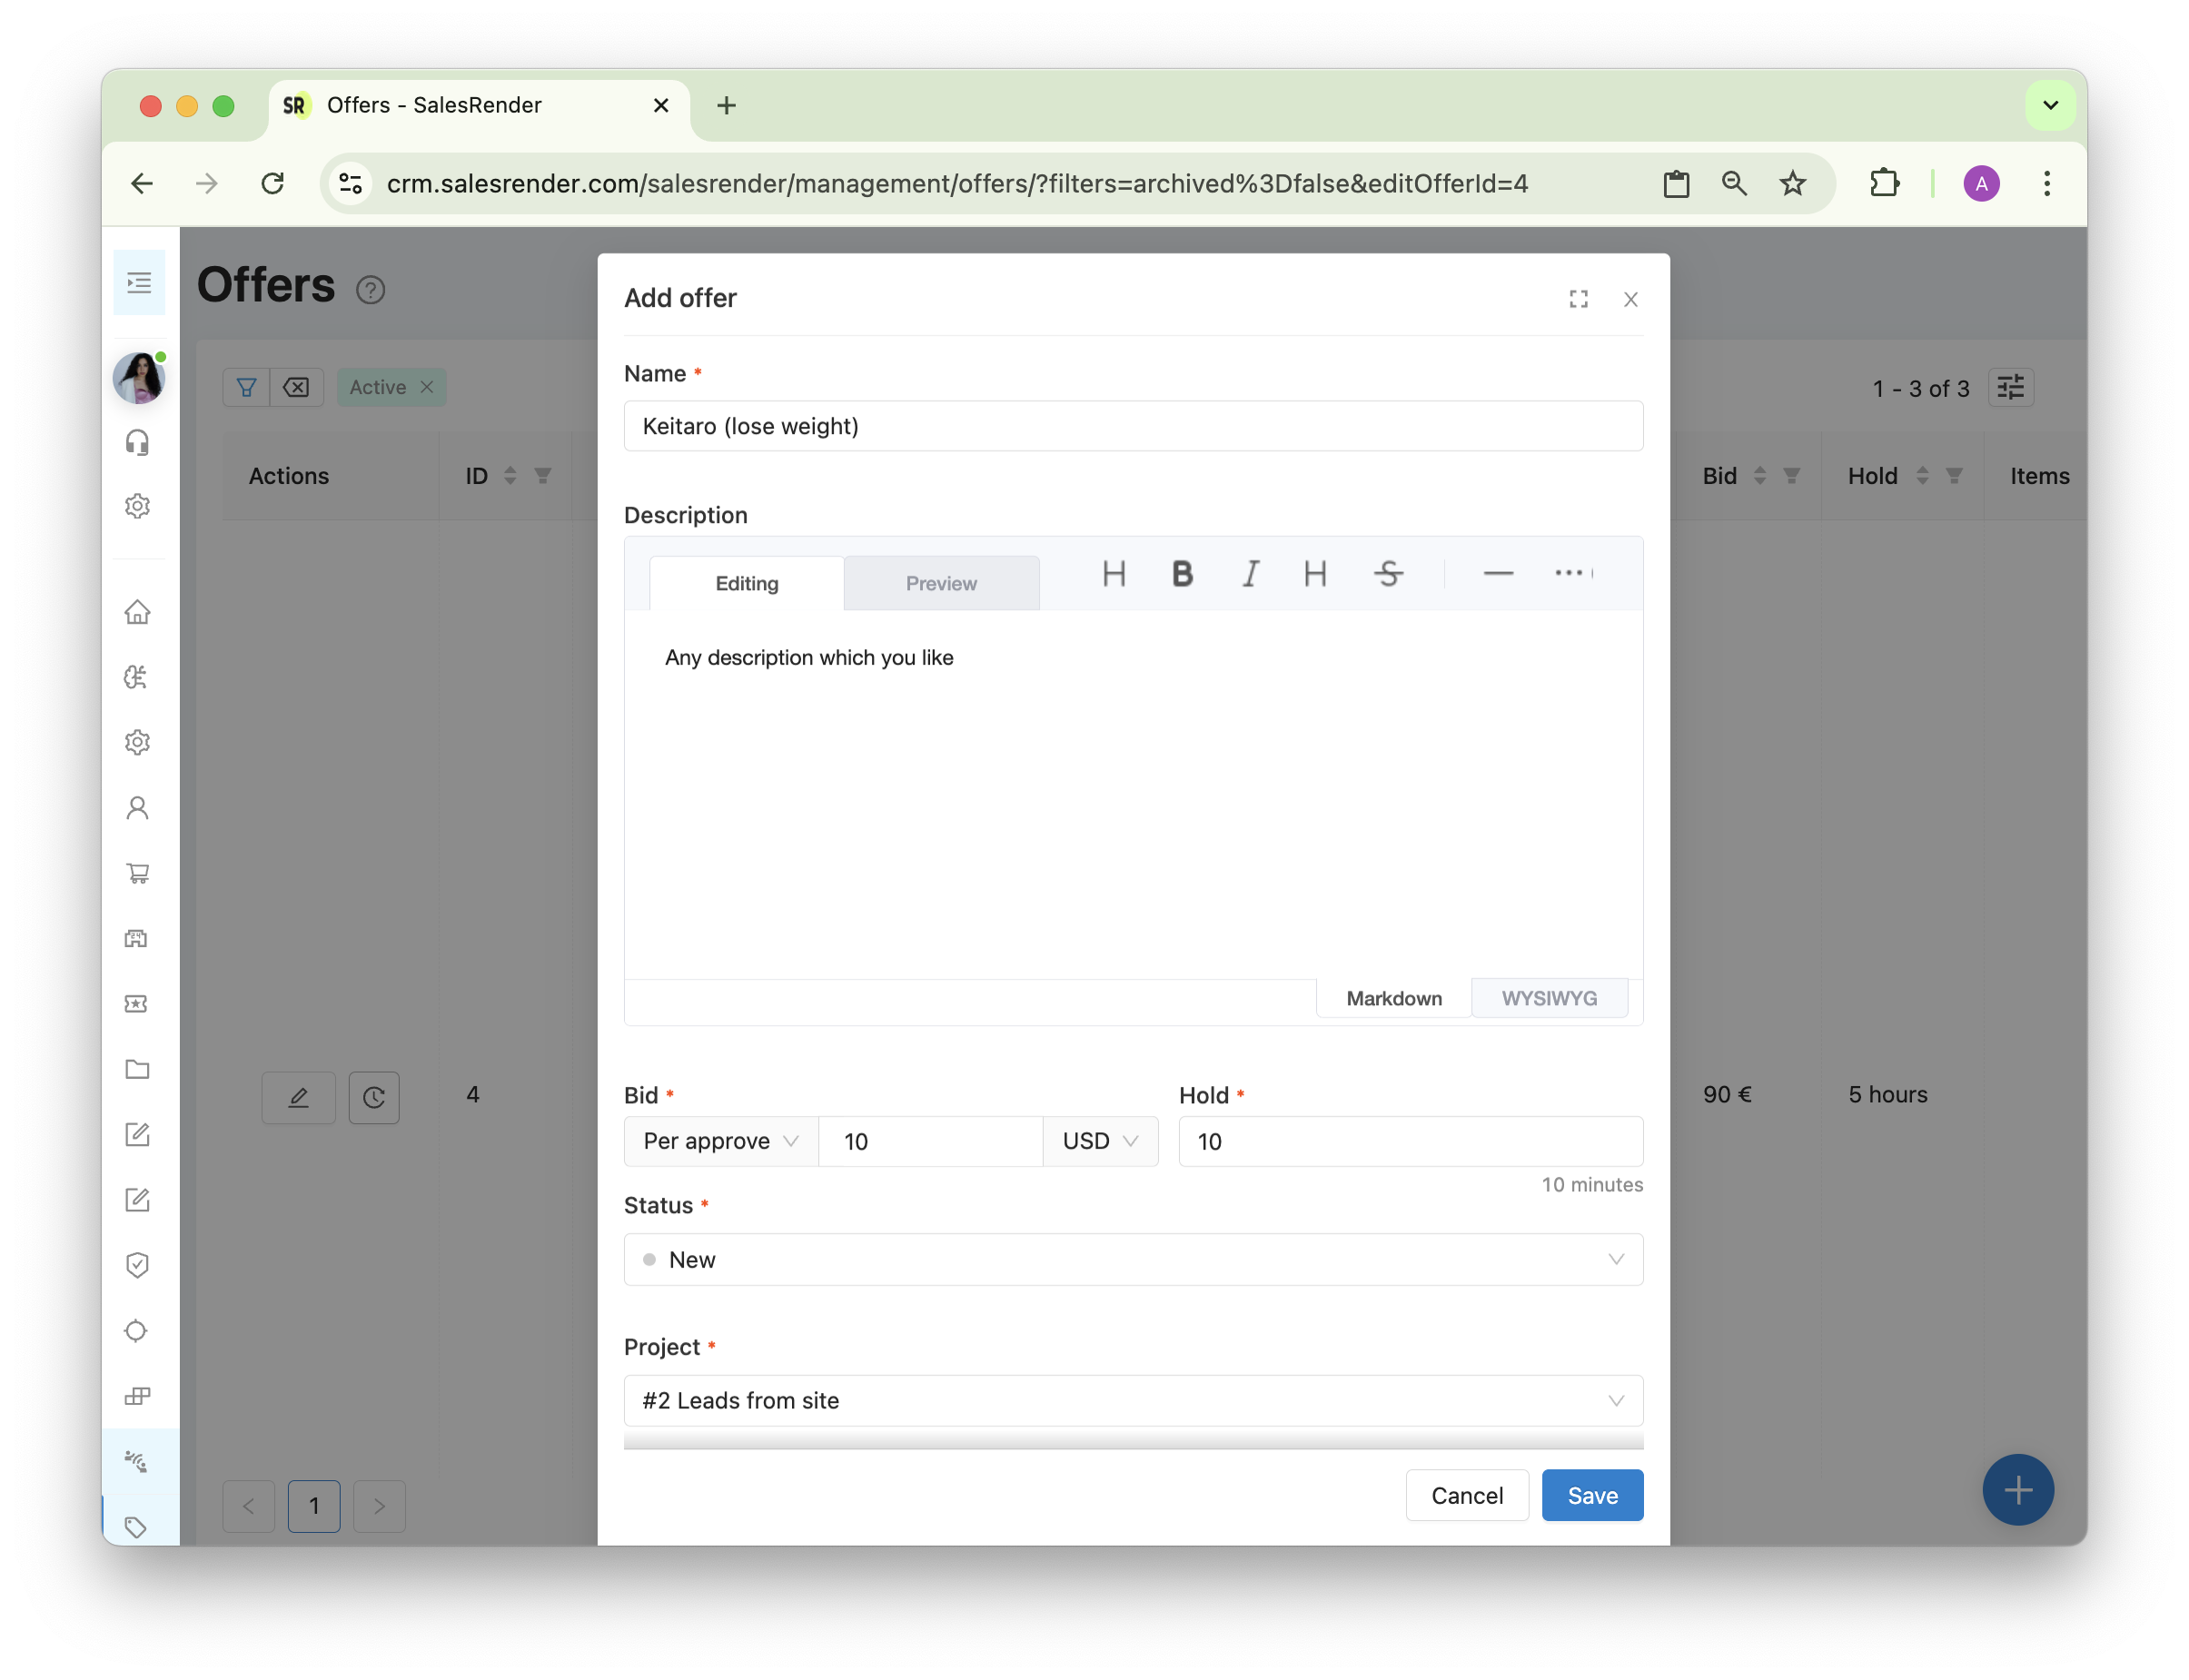
Important:
- Set the payout amount and currency (usually per approval).
- Set the hold time (commonly 0 for faster processing).
- Select the status where orders should arrive (e.g., Processing).
- Choose a project (optional, for categorization).
- Availability – always.
- Products and promotions – for your own convenience to know what’s being sold in this offer.
In the field mapping block, configure which data from Keitaro should go into which fields. This block must be completed.
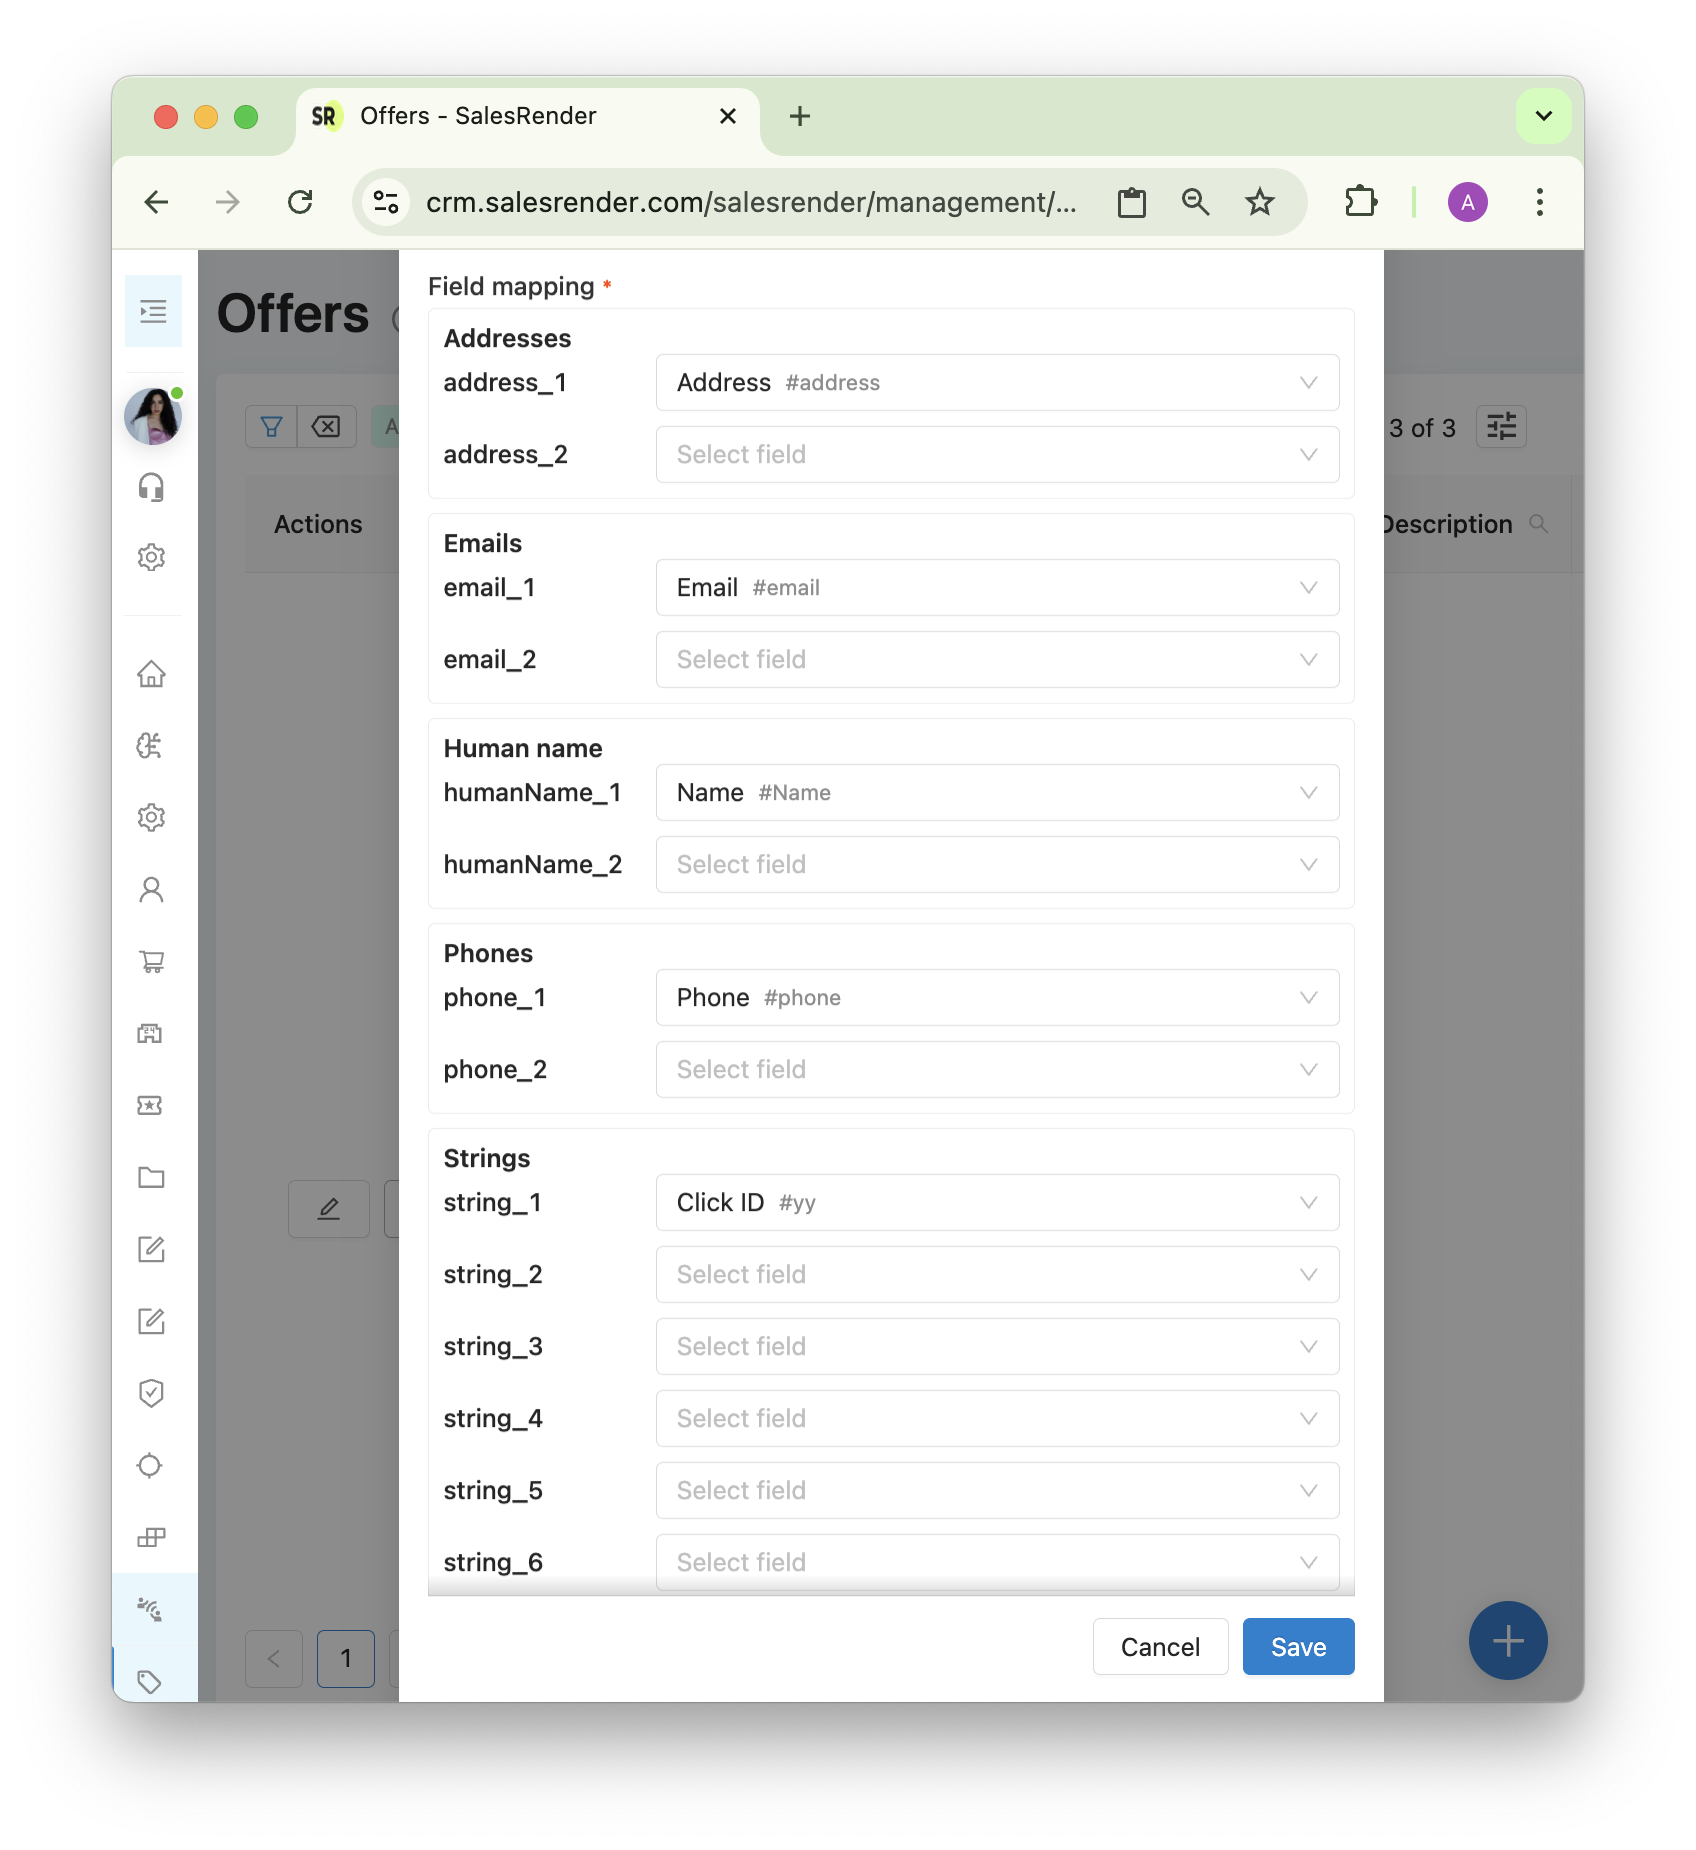
Important: For the webhook to work, you must have a unique order identifier (e.g., click ID, sub ID, etc.). Configure passing this parameter into any String-type field when creating the order. In the field mapping, ensure this field is marked as “string” so it’s stored in the order.
Scroll further down to “Field visibility for webmaster.” Make sure the field carrying the unique Keitaro identifier is fully visible.
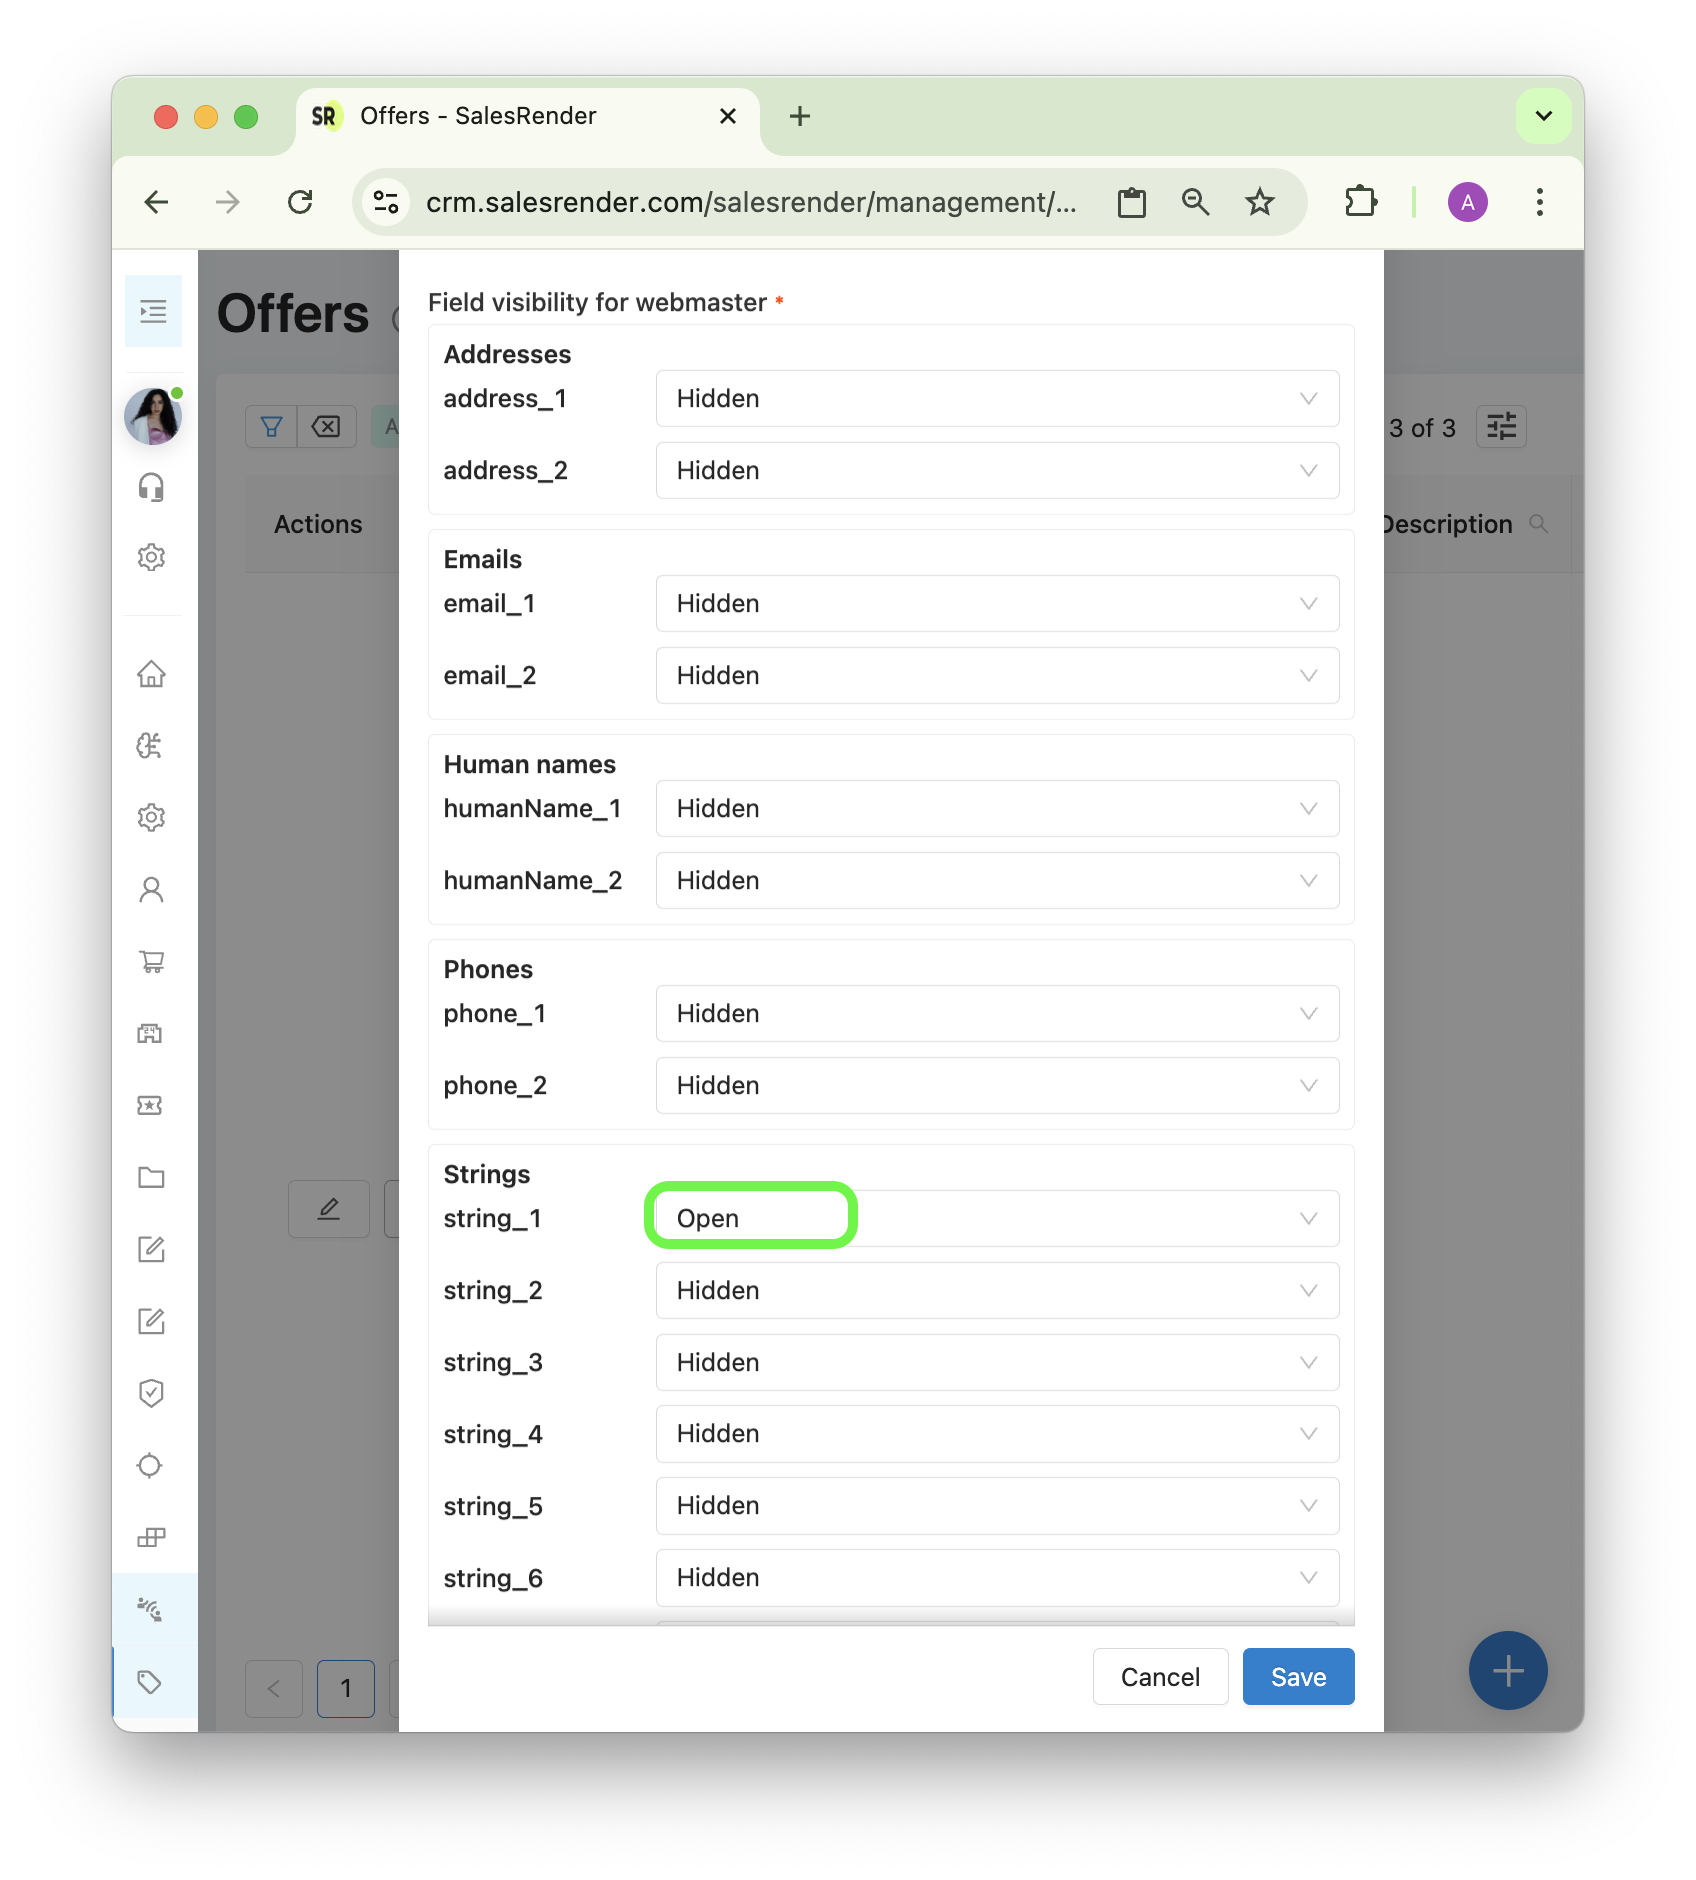
Save the offer and pass its offerId when creating an order.
Step 3: Set up the webhook URL
Now you’ll need the credentials you created for the webmaster.
Log in via https://cpa.salesrender.com/XXX/auth
Where XXX is your company ID (you can find it in your Telegram group name).
Enter the email and password you set in Step 2.
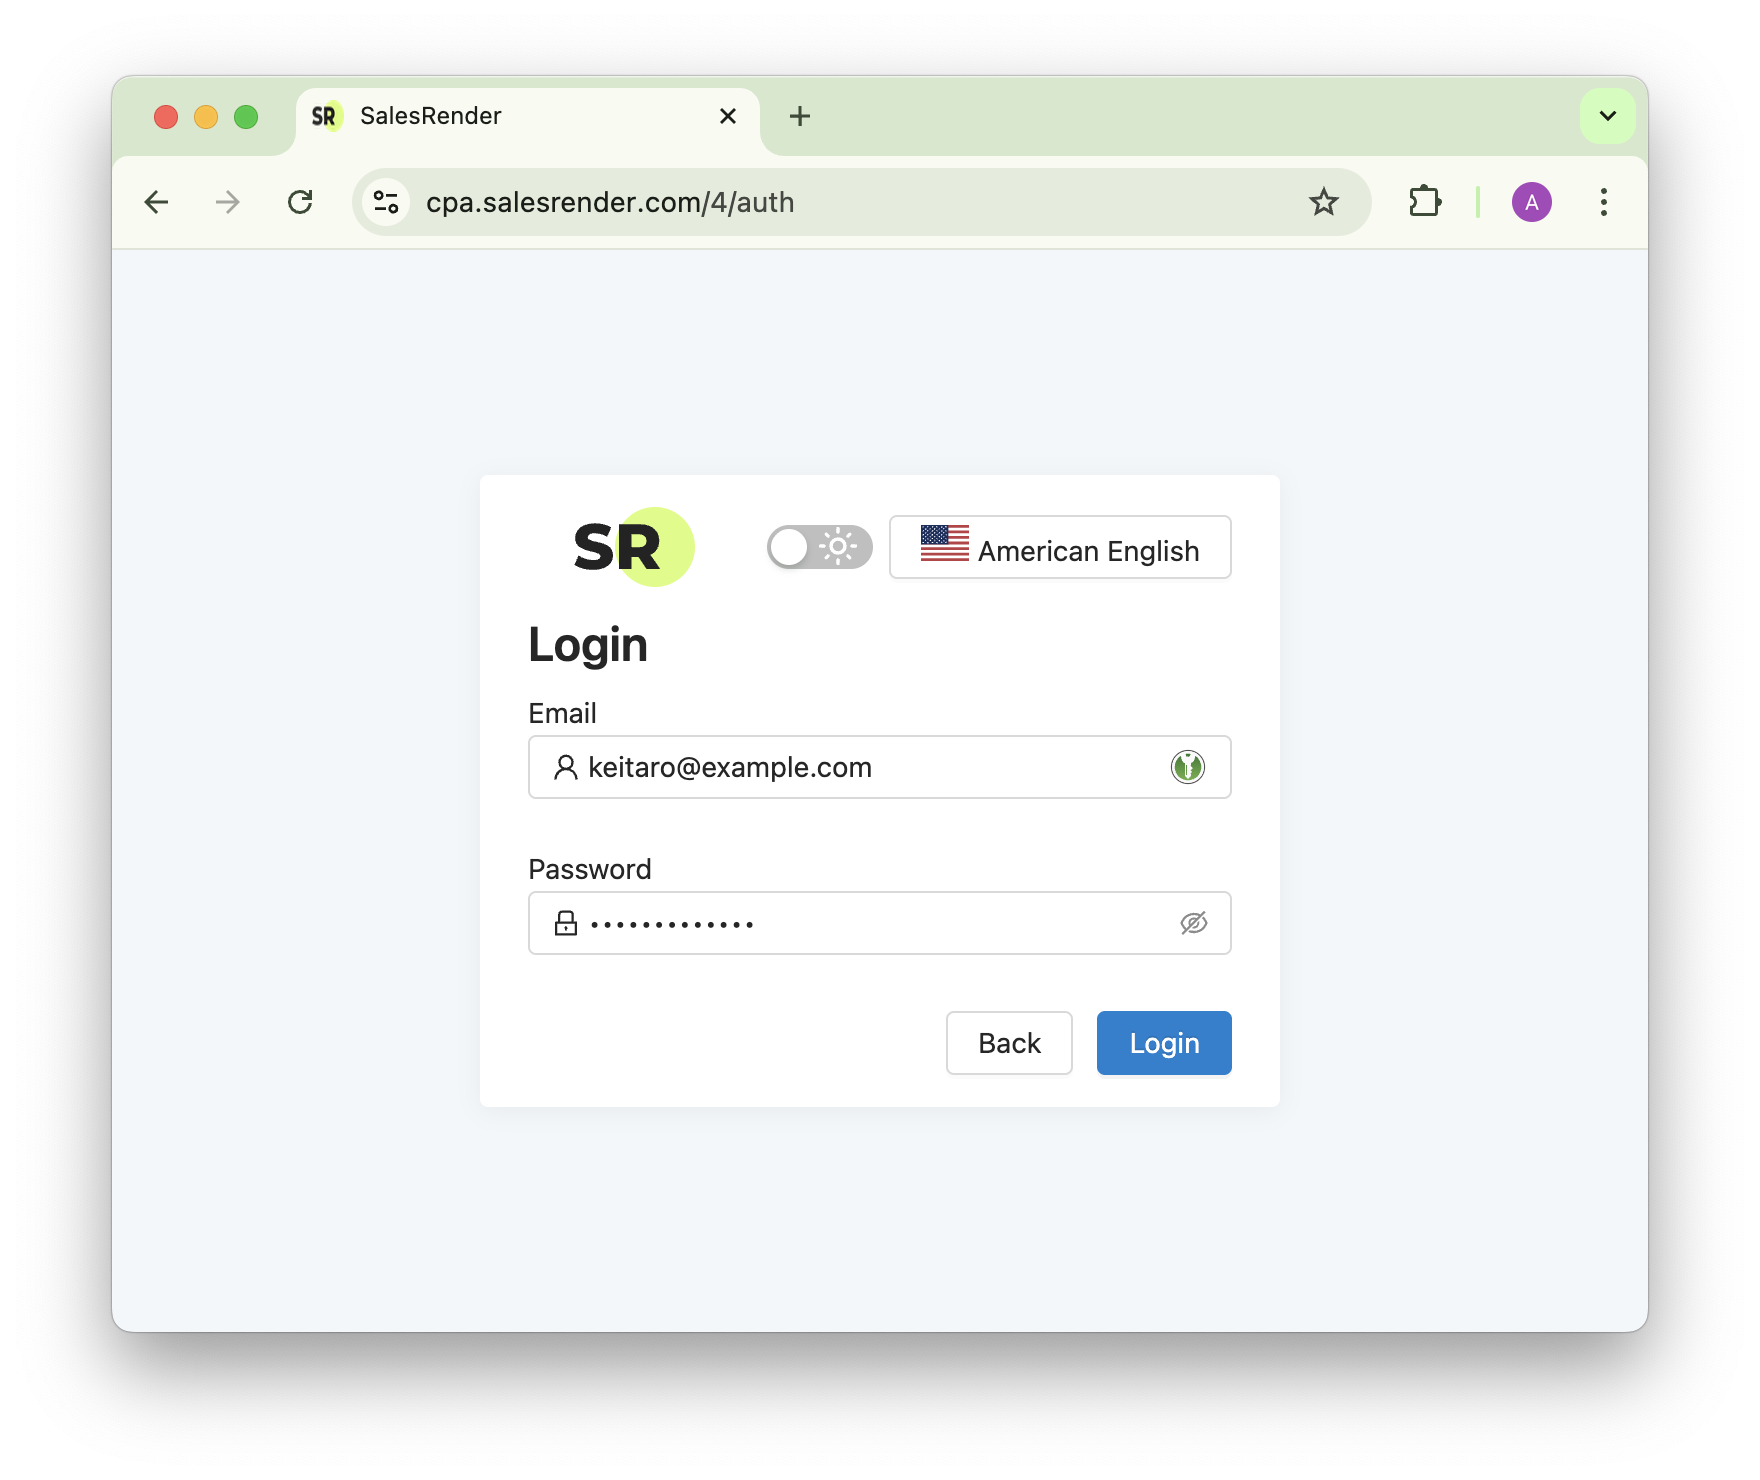
Then open the Webhook section and paste the link provided by Keitaro.
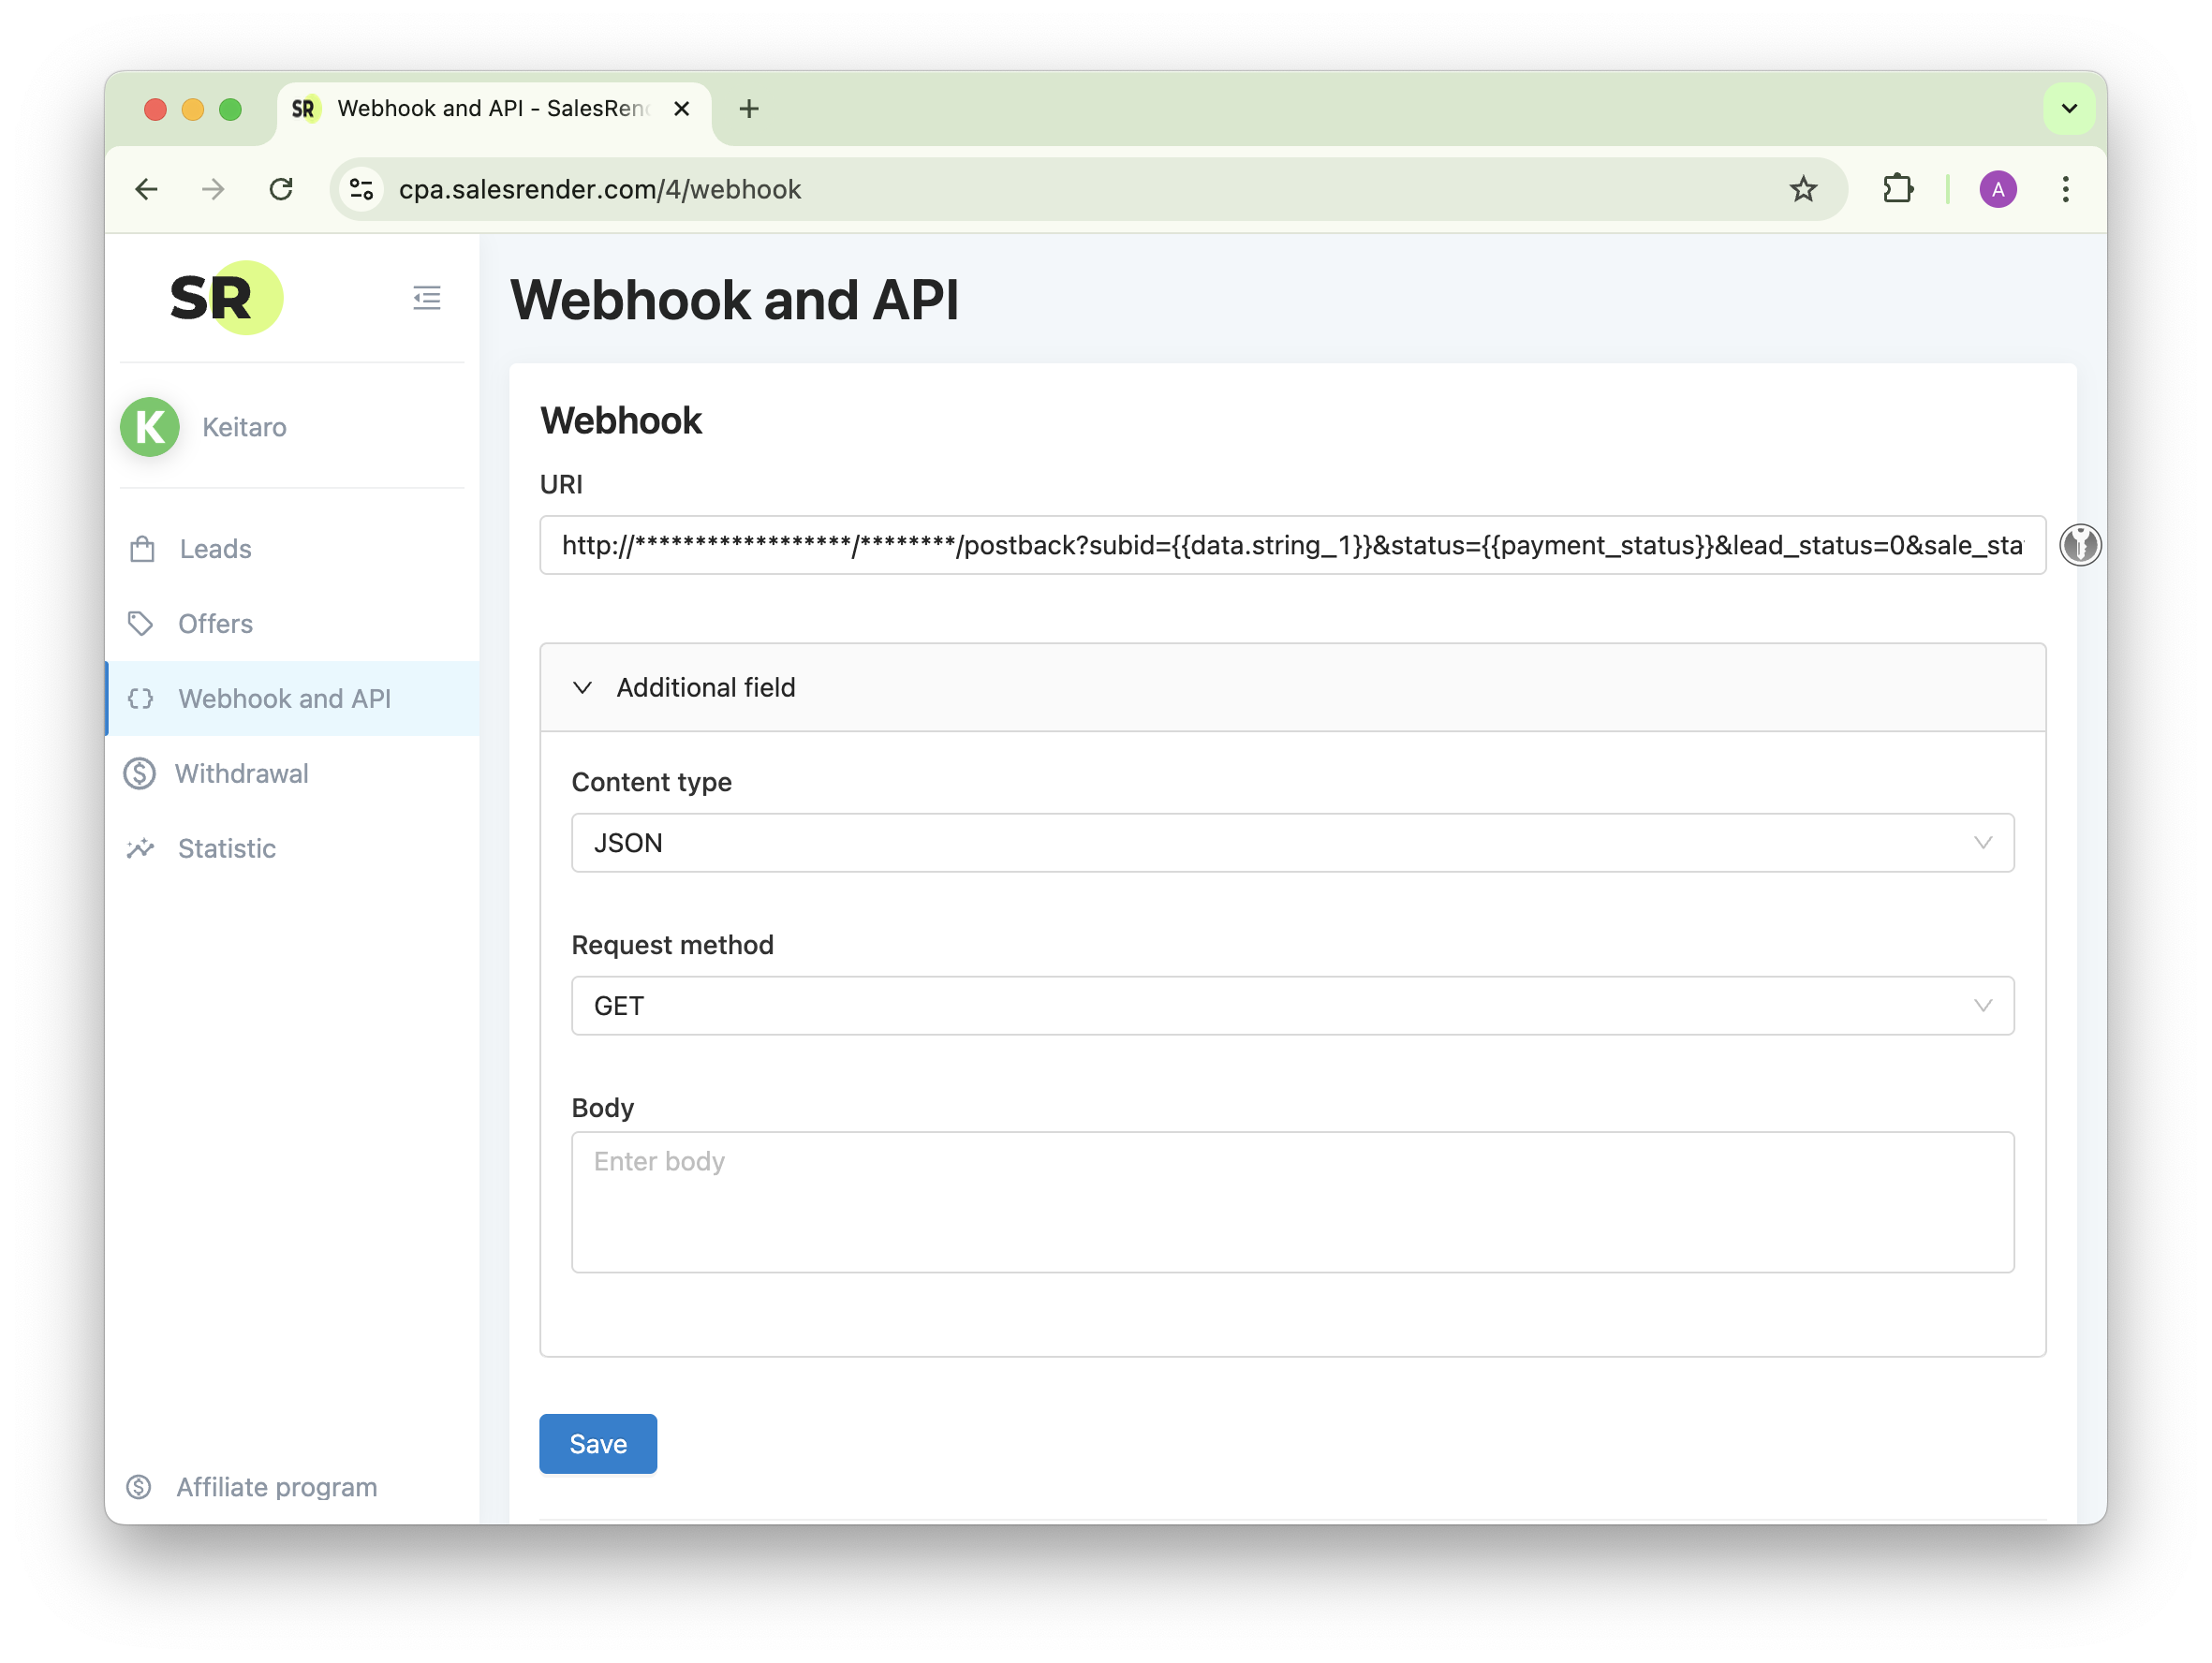
Set Content type = JSON, Request method = GET
Important: The URL must include the parameter where Keitaro passes the unique identifier. In the screenshot, it’s passed into “Additional field 1” which corresponds to {{data.string_1}}.
If you have difficulties at this step, contact our support — we’ll help you generate the correct link.
Step 4: Test the webhook
Now it’s simple: make a test order, move it to any status that triggers approval or rejection. The webhook will notify Keitaro. Ask them if it worked correctly and check whether the conversion shows up in your Keitaro panel.
If you have questions, reach out to us!
You can discover even more features on our website salesrender.com
Follow our channel on Telegram
Contact CEO Anna on Telegram
Thanks for your time